Creating a Simple Blind Hole in a Solid

In the following tutorial you will create a simple hole feature on a rectangular block of size 100*50*50 by using the Blind option from the Hole type: drop-down list.

  1. Start the Hole command and ensure the For screw check box is cleared.

  2. Next, select the Point option to indicate the center of the hole from the Type drop-down list.

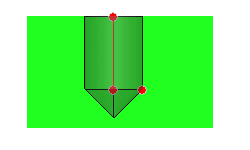
    Position the center of the hole. The values you must specify vary depending on the method you chose to define the center of the hole. See Defining a Point on a face for details.

  3. Select the Simple option from the Hole type: drop-down list.

  4. Next, select the Blind option from the Extension drop-down list.

  5. You will be prompted to select the face for the Face selector. Click on the face on which the hole is to be placed. The two mini-dialog boxes get displayed.

  6. Enter 30 in the Diameter mini-dialog box or drag the diameter handle dynamically to specify the required value. Also, enter 40 in the Depth mini-dialog box.

  7. To create the v-bottom of the hole feature click on the More Options to display the End angle mini-dialog box and enter 45 degrees in the respective mini-dialog box. The preview of the v-bottomed hole feature is shown in the image below.


  8. Click 
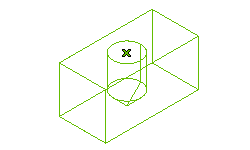
or to confirm your selections and create the simple blind hole, as shown in the image below. Click to discard your changes.


Note
If the model is component you need to select the X-Components check box and the component for the Components selector from the selection list to create a hole. To reselect the components, right-click on Components to select Reset and then select the involved components.

You cannot add fillets or chamfers while creating a hole through components.


Also try to...

Tips and Tricks