| 1 |
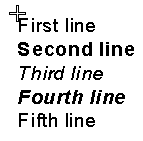
Select the Multiline Mode check box. The Text dialog box will be displayed in which you can type the text. Start with the <TEXT version="1.0"> tag (and ending with </TEXT>).
Use TML formatting
To create multiline texts, you have to use the TML format described in think3 application Text Markup Language (TML).
 |
The complete multiline text length cannot exceed 4096 characters, including TML tagging. |
|
|
| 2 |
Select OK or press ENTER. The text shows up, locked to the cursor, and follows the movements of the mouse.

|
| 3 |
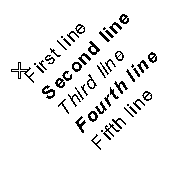
To change the angle of the text relative to the X-axis, measured counterclockwise, type its value into the Angle box and press the ENTER or TAB key.

|
| 4 |
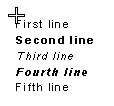
To change the height of the characters, type the new value into the Height box and press the ENTER or TAB key.

Height property and <SIZE height="h"> tag
Please note that, if you are inserting text formatted using TML and you used the <SIZE height="h"> tag, changing the Height value will produce no effect on your text, which will maintain the height defined through the SIZE tag.
Similarly, if you try to change the Slant property of a text formatted using the <SLANT angle="a"> tag, the former will be ignored, while the latter will be maintained. |
|
| 5 |
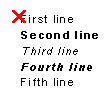
Specify the point where you want to position the text.
 |


