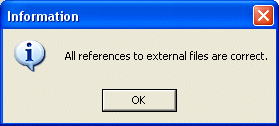
If all the annotation references are valid, a specific dialog box will inform you about the situation:
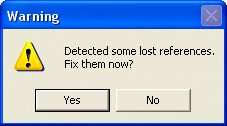
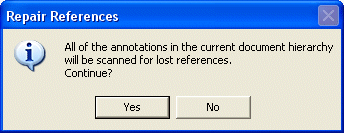
Select Yes to go on, No to quit the command.
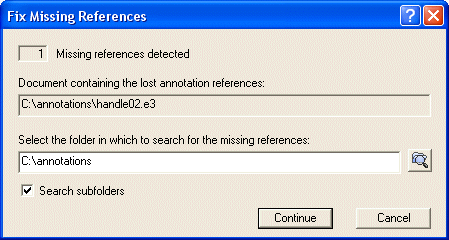
The first line in the dialog reports the total number of lost references detected. The next line indicates the active file, which the search originated. This would be the top level file of the assembly even if the lost reference existed in one of the X-Reference component files.
The command will first search for all of the missing referenced files given a specified directory. This directory may be typed into the text box shown above or the user may browse for it by selecting the Browse button.
If you click the Browse button, the program displays another dialog box, from which you can specify the new location to search for the missing referenced files. Note, however, that this step is optional and only enables you to specify the folder in which the program will look for the reference file. You will still be prompted to select the file name to substitute for the missing reference file.
The Cancel button quits the dialog box and exits the command. The check box in the lower left-hand corner enables you to specify if the provided folder must be scanned recursively or not.
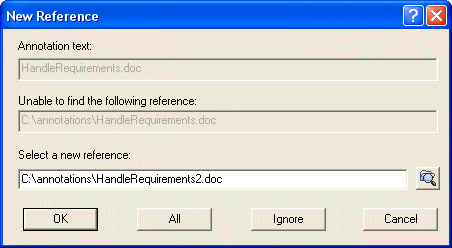
If the search for the missing files found any of them in the specified directory, the found file and its path will appear in the enabled . However, if the file was not found then the will appear blank. You can type the path of a valid reference in the or browse for it using the Browse button. When you click the Browse button, the program displays a standard Windows file dialog box from which you can select the reference file.
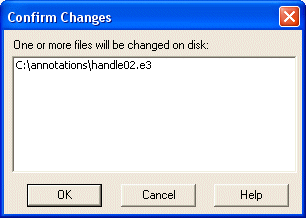
The OK button may be pressed to confirm the new path and name of the file referenced. The Ignore button enables you to skip the current reference; therefore it won't be modified. Note that if, for a lost reference, no new reference can be proposed, the OK and the All buttons are grayed out, until you select the new reference either by means of the Browse button or typing the reference file path. Also note that the dialog box will be displayed any time the application is unable to load a reference. If you click the All button, all the new references that can be retrieved by the program will be automatically accepted and the dialog box will appear only for the ones that cannot be retrieved in the specified folder.
This step will be repeated for each of the missing references
