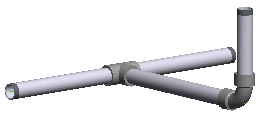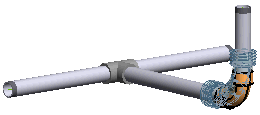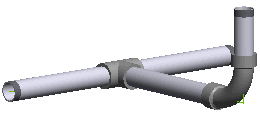
 ), the tubing element option is displayed, in this case the Elbow - Curve.
 ) to display the catalog. Choose the size 1"1/4.
 ) the command to make the changes take effect.
Tubing elements are the basic building blocks to form a complete tubing network. A tubing network can be created using the Tubing Network or Insert Tubing Part commands. The following illustration explains how to use the Modify Tubing Part command to modify the tubing elements of a tubing network. Open the Modify_tubing_parts.e3 file available in the Samples folder of your think3 installation and follow the steps given below.

 ), the tubing element option is displayed, in this case the Elbow - Curve.
 ) to display the catalog. Choose the size 1"1/4.
 ) the command to make the changes take effect.
| Note You would have noticed that the diameter of all the tubing elements is automatically modified to keep them consistent with the increased size of the Elbow. This behavior was executed only if the tuning network is originally created using the Tubing Network command. If the tubing network is created using the Insert Tubing Part command, you need modify each element individually to keep their diameters consistent. |