
![]()
Insert TubingPart
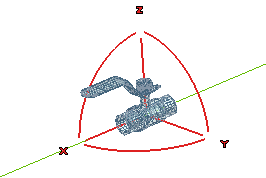
The Insert Tubing Part command enables you to insert one part at a time along the tubing path to complete the network. On starting the command, the Tubing Part selection list is displayed.
In the Type drop-down list, you need to select the type of Tubing element (standard tubing elements like: Tube, Flange, Elbow, etc) or Other Parts (non-standard tubing elements like: Valves, Pressure gauges, Degasifiers etc) to be inserted on to the tubing path.
Depending on the type of element to be inserted, a suitable anchor point has to be selected for the Anchor selector. Click here to refer to the table showing anchor details.
Thereafter, you need to make the Line Specification using the Line drop-down list. Then expand the Line node ( ) to view the tube element options associated with the particular Line Specification and corresponding to the type of element selected for insertion. By clicking the node symbol of the tube element option, the corresponding catalog with all its data is displayed in the form of a dialog box. Double-click to make a selection.
The preview of the element is immediately displayed over the selected anchor. You can now Apply ( ) the command and continue inserting more components till the tubing network is completed.
If you have selected Other Parts in the Type drop-down list, the selection list will display the Alignment option. Using its sub-options or by making use of the translation handles displayed over the part preview, you can change the orientation of the tubing element.
Once the tubing network has been generated, you can modify its individual elements by using the Modify Tubing Part command.
Also the parts can be customized to your specification and added to the catalog library. Then this part can be inserted into the network using this command.