![]()
Insert SurfaceGlobal Sweep
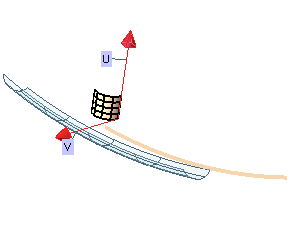
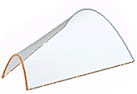
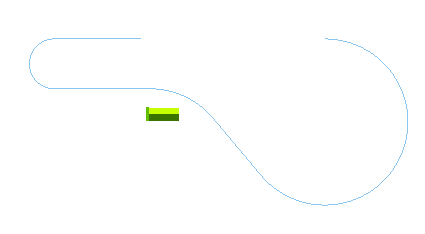
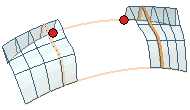
The Global Sweep command enables you to create surfaces by sweeping one or more section contours (chains of consecutive curves) or a surface — along one or more drive contours.
After selecting making the selection of the drive contours (for the Drive Curves selector), you can choose whether to use section curves or to sweep a surface in the Sweep drop-down list, which has to following two options.
| Curves | To use section curves: one or more contours, even if they have sharp points. If you choose Curves, you can select different groups of contours to be swept (for the Curves (n) selector under Section Group(s) (n)). The context menu displayed by right-clicking on Curves (n), the following options will be displayed:
It enables you to invert the orientation of the section contour.
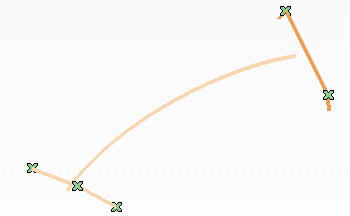
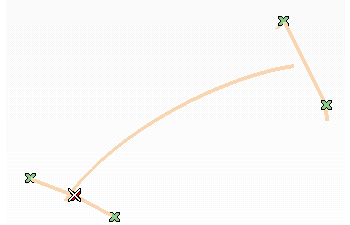
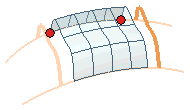
It enables you to change the position of the contour to be swept on the drive. You can enter the curve parameter value in the corresponding text box. The position of the section curve is represented by a red handle displayed at the projection of the initial point of each section group onto the drive contour. You can interactively drag this red handle to change its position. |
||||
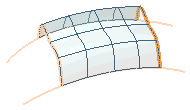
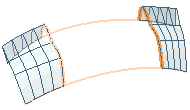
| Surface | To sweep a surface along the drive curves. This feature is helpful to control section evolutions along a drive in air intake, exhaust manifold designs, etc. If you want to sweep several surfaces, you need to join them first. If you select Surface you can proceed as follows:
If any transformation has been applied, you can easily undo it in the same command session by right-clicking on the Transform node in the selection list and by selecting Reset in the context menu. Please note that when using the Surface option no transition management is available. |
In the Motion Mode drop-down list you can choose the method to be used to perform the sweep along the drive:
| Constant | The contours will be swept along the drive keeping their orientation constant. | |||||||||
| Constant axis | The contours will be swept along the drive while keeping an axis constant through all the motion (the axis Direction can be an existing line, the one identified by two points or an axis of the Work Plane). | |||||||||
| Frenet | The contours will be swept along each drive assuming the orientation of the Frenet reference (tangent, normal, binormal) of the latter. | |||||||||
| Enhanced Frenet | The contours will still be swept along each drive assuming the orientation of the Frenet reference of the latter as much as possible, with an enhancement enabling the resulting surface to be continuous (G0). | |||||||||
| Along one plane | The contours will be swept along each drive assuming the orientation of a plane. An Automatic plane check box enables you to control the selection of such plane.
|
|||||||||
| Surface based | The contours will be swept along the drive keeping an orientation based on the one of the selected surfaces (i.e.: during the motion, the normal will be the one of the surface, while the tangent will be the one of the curve). This method can be very useful to build "lips". The Close Sweep check box shows up when the initial and the final end points of the drive curves coincide. If you select it, the final result will be a closed surface, while if you clear it the resulting surface will not be closed. | |||||||||
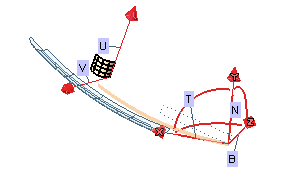
| Bi-driven | The contours (one or several section curves) will be swept along two drives (selected as Drive Curves and Second Drive Curves), which may be curves or surface boundaries, ensuring G0 continuity along the two drives. Please note the following:
As mentioned, with bi-driven motion, the sections are intended to be scaled so as to keep in contact with the drives. Two parameters on each section are detected, corresponding to the contact points between the section and the two drives or at least the closest points. If all the pairs of parameters are the same, then the scale function is applied. Otherwise, it is not. In this case, a specific warning is displayed.  |
| Associativity The surfaces created using this command in both Sweep modes (Curves and Surface) can be associative: associative surfaces are Skins, which are open solids, retaining a link to the base curves, so that if you modify the base curves the surfaces will be modified accordingly; they have a history and are displayed in the Model Structure. See "Associative Surfaces (Skins)" for details. If the Sweep drop-down list is set to Surface), after selecting a surface:
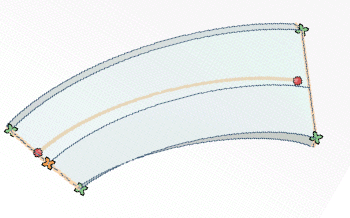
 When you apply the command you obtain the following result. 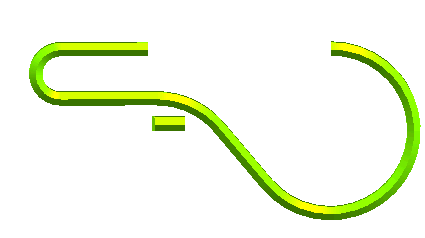 When you apply a change to the reference skin (in the example the rotation angle has been modified), the skin obtained as result of the Global Sweep command is updated accordingly. 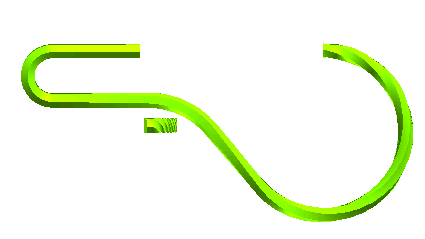 |
Additional options are available under More Options.
| None | No transition is applied. The resulting surfaces will only be positionally continuous. |
| Global mode | The effect of transition is computed by the global section interpolation process. |
| Local mode | A local computation of transition is performed that is effective in a restricted area around the transition, as shown in the following images. |
| Local mode | Global mode |
 |
 |
| Regular | Complementary |
 |
 |
| Regular | Complementary |
| Curvilinear | The discontinuities of the sections are mapped using their arc length. In the following example there are three discontinuities on the first section and only two on the second. 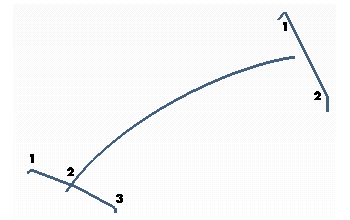 The following illustration shows what you get upon the choice of the Curvilinear option (Motion Mode is set to Along one plane and the Automatic plane box is checked): 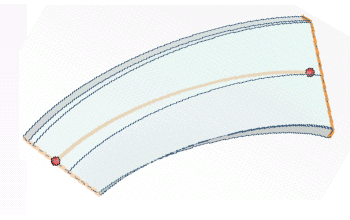 |
|
| Discontinuity | Tangency discontinuities are detected. If the number of these discontinuities is the same on each section, a discontinuity-to-discontinuity (from now on, for shortness' sake: D2D) mapping between each section is applicable.
If the number of discontinuities is not the same on each section, a D2D mapping is not possible, and the resulting matching is automatically curvilinear. In the example used to show the Curvilinear option (see above), then, even if you had selected the Discontinuity option, the result would have been the same. A specific Ignore discontinuities check box, though, is available so as to enable you to "skip" discontinuities on some section in order to have the same number of discontinuities on each of them. In this case the D2D match becomes possible.
|
|
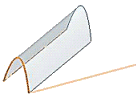
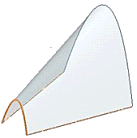
| All discontinuities | All the discontinuities (both tangency and curvature) are detected on the sections. If a D2D matching is possible, it is performed. Otherwise the matching remains curvilinear. Please note that this option was the one always applied in the former version of the command. In the following example the two sections are the side curves. On both sections, there is only one curvature discontinuity (that is, the curve is not more than tangent continuous at this point). 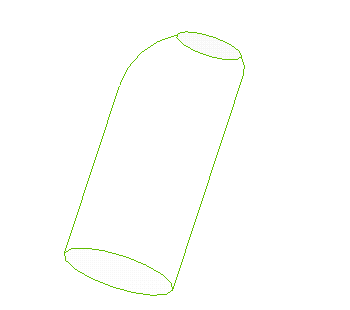 With the All discontinuities option it is possible to obtain a real D2D mapping: 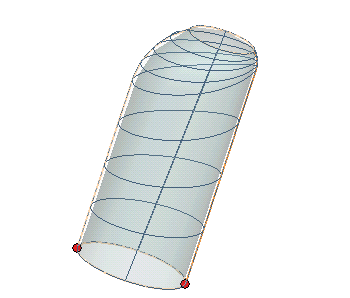 On the contrary, with the Curvilinear or even Discontinuity options (since only tangency discontinuities are taken into account for matching), you would obtain three surfaces which would be tangent continuous. 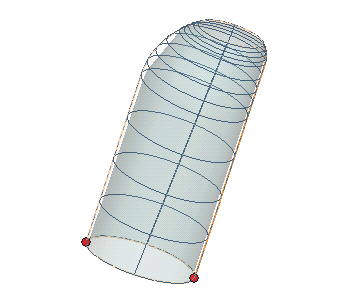 |
|
| All discontinuities with reparameterization | It enables you to achieve transversal G1 continuity of surfaces being produced from section curves having same number of G1 continuous spans while preserving their correspondence. |
A warning is displayed at each location where the motion is not continuous (there may be cases where, though the drive is only G0 at a certain location, the selected Motion Mode is such that the resulting motion is continuous).
When the Position of Section handle is dragged just upon a discontinuity, there are actually three possible ways to position the section (on the discontinuity, on the left or on the right). Hence, a context menu can be displayed by right-clicking on the Position of Section handle.
| Link to both transition sides | Perform the transition considering the actual section curve you have selected. |
| Link to left transition side | Perform the transition considering the section as lying before (on the left of) the discontinuity. |
| Link to right transition side | Perform the transition considering the section as lying after (on the right of) the discontinuity. |
Please note that if the Position of Section handle is close to the discontinuity but not just on it, then the same context menu is displayed, but no check box is available on it. If you choose one of the options, the Position of Section handle will be positioned exactly on the discontinuity.
Finally, in order to improve the final shape and to gain better control on its degree and continuity values, you can choose the method to be used for the interpolation of the sections in the Section interpolation drop-down list under More Options.
| Max. degree 3 | When this option is selected, the final degree along the U direction for the final shape will be 10. When the drive is closed, if the motion is continuous enough, the continuity value at the closure point will be C2. Please note that if the number of sections is lower or equal to 4, then the final U degree of the shape will be lower or equal to 10. |
| Max. degree 5 | When this option is selected, the final degree along the U direction for the final shape will be 12. When the drive is closed, if the motion is continuous enough, the continuity value at the closure point will be C4. Please note that if the number of sections is lower or equal to 4, then the final U degree of the shape will be lower or equal to 12. |