Creating a Solid by Connecting two Boundary Profiles
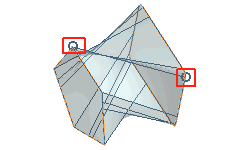
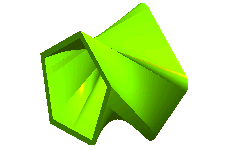
The command enables you to create a solid by sweeping two boundary profiles by using the Ruled option from the Motion Mode drop-down list, as shown in the image below.
To obtain the above result, you need to open the solid_ruled.e3 file available in the samples folder of your installation folder and follow the steps given below.
- Start the command to display the selection list.
- Next, select the Ruled option from the Motion Mode drop-down list of the selection list.
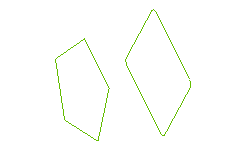
- You are prompted to select entities. Select the two profiles for the Boundaries selector, as shown in the image below.
To reselect the profiles, right-click on Boundaries in the selection list, choose Reset, and then select the profiles.
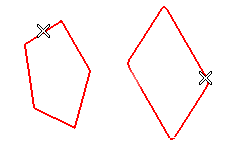
- In case you get the Self-Intersection warning or to avoid twisting select Reset from the Start Points selector in the selection list, and then select a new starting point on each boundary profile.
 |
|
| Highlighted starting points |
|
- If required to create a shelled solid, click More Options to display the 1st Thickness and 2nd Thickness check boxes. Select the check boxes to extend their respective edit boxes.
- Enter 10 in both edit boxes to specify the shell thickness of the boundaries.
- Click
 or
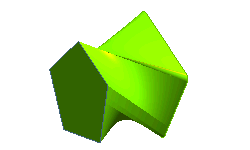
or  to confirm your selections and create the solid/shelled feature, as shown in the images below.
-
 |
|
| Transition check boxes cleared |
Transition check boxes selected |
Click  to discard your changes.
Also try to ...