

Insert Decal
Decal
The Decal command enables you to apply a piece of artwork or a picture on a surface. This process is similar to pasting a piece of tape on the surface. Using this functionality you can achieve more realism to the model after rendering. Many standard image file formats are supported for decal image.
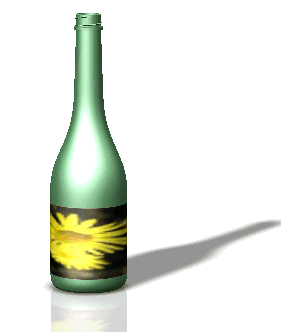
The decal mapping process is also considered as applying a texture map onto the model. You have to select the surfaces of the model on which you want to map the texture. The applied texture or image on a surface can be mapped according to different types of texture mapping. The following is a rendered image of a decal applied onto a bottle.

The Decal command enables you to modify visual properties such as the Reflectance, Transparency and Bumps properties of the decal image, and its position. A decal mask also controls whether the decal or the underlying surface material is to be visible or not.
The information regarding the different decals applied to the surfaces is available under the Decal node in the Rendering tree.
The applied decal can be edited by right-clicking on the decal in the rendering tree and select Edit from the context menu. The Edit Decal selection list is displayed, with which the decal can be edited. The options in this selection list are similar to that of the Decal selection list.
| Note The Texture Space command can be used to insert and edit the texture mapping of the decal applied. |
The "Options of the Decal command" document explains in detail the functionalities of the various options in the Decal selection list.
 e-Learning video list for rendering