


Insert Curve
Curve Helix
Helix
The Helix Curve command enables you to create a circular helix curve (see "Circular Helix" for details on the definition) providing you with a number of different construction modes.
You can specify the curve axis and a point or the axis and the value of the radius and choose the parameters to indicate, which can be the pitch and the height, the pitch and the number of revolutions or the height and the number of revolutions.
The radius and the pitch of the helix curve can be made variable according to a linear or quadratic law, while a start and an end angle with respect to the starting point of the curve can also be specified.
The result of the command is a single curve, that can be a high quality one, that is it can have internal G3 (Torsion) or G4 (Curvature plot curvature) continuity and higher degree, rather than an ordinary spline curve (internal G2 — curvature — continuity, degree = 3). The resulting curve can also be made associative (see "Associativity" for details).
After starting the command, you can proceed as follows.
| Axis and point
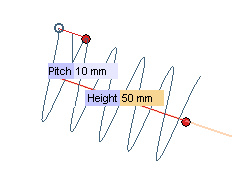
To create the helix by specifying its axis (Axis — see "How to define an axis or a line" for details on how to define an axis) and its starting point ( Endpoint). |
 |
| Axis and radius
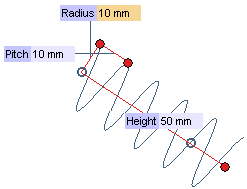
To create the helix by specifying its axis (Axis) and its starting radius ( Radius). In this case the radius will be computed along an axis obtained as the X axis after theoretically moving the Z axis of the Work Plane onto the selected axis of the helix. |
|
| Pitch and height
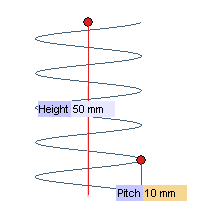
To define the helix through its pitch (the pitch of a circular helix is the distance, measured along the axis, between two successive turns of the curve) and its height. Provide the values in the Pitch and Height boxes respectively, or drag the corresponding handles as desired. The direction of the helix can be inverted by double-clicking on the red handle displayed on top of the axis. |
 |
| Pitch and revolutions
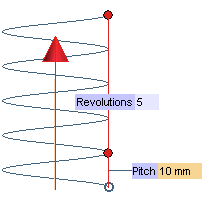
To define the helix through its pitch and its number of turns (a turn of a circular helix is the section of the helix between two successive intersections with the same generator of the cylindrical or conical surface on which the helix lies). Provide the values in the Pitch and Revolutions boxes respectively, or drag the corresponding handles as desired. The direction of the helix can be inverted by double-clicking on the red arrow displayed when this mode is selected. |
 |
| Height and revolutions
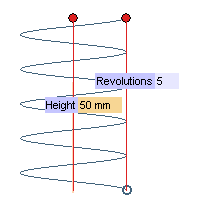
To define the helix through its height and its number of turns. Provide the values in the Height and Revolutions boxes respectively, or drag the corresponding handles as desired. The direction of the helix can be inverted by double-clicking on the red handle displayed on top of the axis. |
 |
| Clockwise
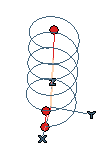
The helix curve will be created by moving a point in a clockwise direction about the selected axis and starting from the initial end point (or initial point of the radius) you specified. |
 |
| Counter-clockwise
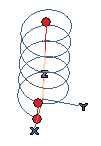
The helix curve will be created by moving a point in a counterclockwise direction about the selected axis and starting from the initial end point (or initial point of the radius) you specified. |
 |
Several options are available if you expand the More Options node.
 |
When the box is cleared the helix will have no taper angle (it will be cylindrical) | 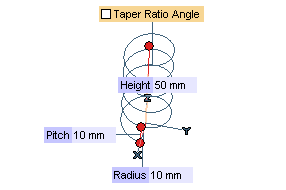 |
 |
When the box is checked, you can type the value of the taper angle inside the adjacent box, so as to obtain a conical helix. | 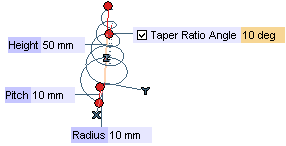 |
Note that all the mini-dialog boxes displayed on checking the following boxes can be displayed/hidden by expanding/collapsing the corresponding nodes.