Please note that you can follow this step-by-step example by loading file: "spsrf_multi_4.e3".
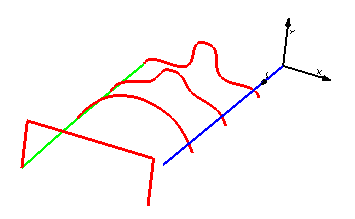
Once you have started the Spined Surface command, you can proceed as follows.
Please note that you can follow this step-by-step example by loading file: "spsrf_multi_4.e3".

| 1 | To obtain an associative surface, that is an open solid — a Skin — retaining a link to its base curves, so that if you modify such curves the surface will be modified accordingly, check the Associative Mode box. See "
Associative Surfaces (Skins)" for details. |
||
| 2 | Select the spine curve (or chain of curves) and end selection by right-clicking and selecting Continue in the context menu.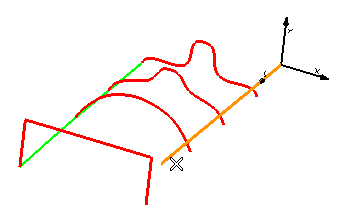 To change the selected spine curve (for example if you selected the wrong one by mistake), right-click on Spine in the selection list, select Reset and perform selection again. |
||
| 3 | Select the boundaries and end selection by right-clicking and selecting Continue in the context menu.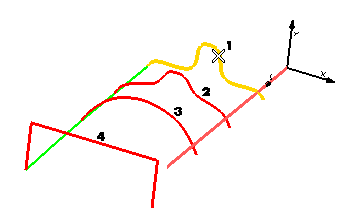 To change the selected boundary curve (for example if you selected the wrong one by mistake), right-click on Boundaries in the selection list, select Reset and perform selection again.
A preview is immediately displayed: 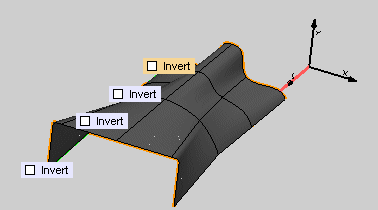 For the surface to extend in the opposite direction, select the Invert check box.
|
||
| 4 | Select the drive curve and end selection by right-clicking and selecting Continue in the context menu.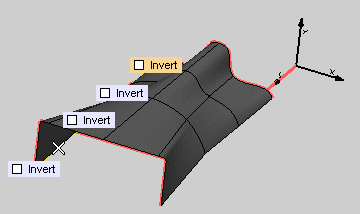 To change the selected drive curve (for example if you selected the wrong one by mistake), right-click on 1st Drive in the selection list, select Reset and perform selection again. |
||
| 5 | Click More Options to display additional options.
|
||
| 6 | Click  or or  to confirm your selections and create the surfaces. to confirm your selections and create the surfaces.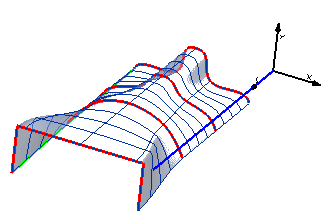 Click  to discard your changes. to discard your changes. |