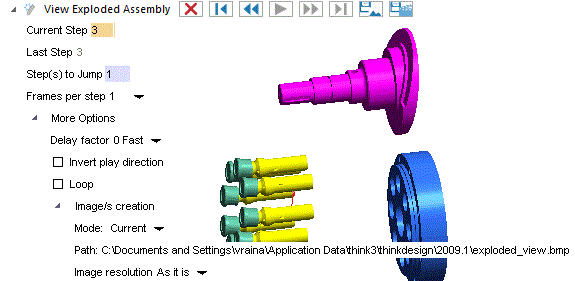
 ) from the left pane of Graphics Area.
The number of steps taken place to explode the assembly is 3 and is displayed in the Current Step edit box.
- Click
 to view the next step in the exploded assembly.
 - Click
 to view the previous step in the exploded assembly.
 - Click
 to view the last step in the exploded assembly.
 - Click
 to view the starting step in the exploded assembly.
 - Click
 to view the exploded assembly.
 - Click
 to stop the player while viewing the exploded assembly.
| Note: Select the Invert play direction check box to view the exploded assembly from the last step to the first step. Also, to display the transition of the assembly parts repeatedly select the Loop option. |
- Select the Sequence option from the Mode: drop-down list to display the Start step and End step edit boxes.
- Make sure 0 is entered in the Start step and the last step value is entered in the End step edit box.
- You have multiple formats in the Image type: drop-down list to save the images. Select the Joint Photographics Experts Group (*.jpg) format from it.
- Next, the images to be captured will be saved in a default location mentioned in Path. If you need to change the default location, click on the default path and a file selection list box is displayed to select the location.
- Select 800 x 600 from the Image resolution drop-down list to define the resolution of the images
and click Create Images ( ) button to capture the images.
 to create video.