| 1 |
To obtain an associative surface, that is an open solid — a Skin — retaining a link to its base curves, so that if you modify such curves the surface will be modified accordingly, check the Associative Mode box. See "Associative Surfaces (Skins)" for details.
|
| 2 |
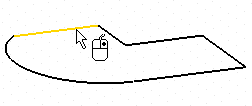
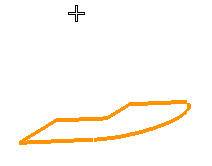
Select the base curves.
As soon as a curve is selected, the preview of the corresponding surface is displayed

Each time you modify a parameter, the preview is also updated.
To change the selected curves, right-click on Curves in the selection list, select
Reset in the context menu and perform selection again.
|
| 3 |
In the Draft drop-down list select
Vertex. The selection list will display the
Vertex item.
|
| 4 |
Click on Vertex in the selection list and specify the vertex point for the surfaces to be created.
The Start Value and End Value mini-dialog boxes are displayed.

|
| 5 |
In the Start Value and
End Value boxes respectively, type the values of the parameter (between 0 and 1) to modify the vertical extension of the conical surface.
|
| 6 |
Clicking on the More Options item in the selection list, you will be enabled to choose whether to create the base surfaces (endcaps). (Only if the base curve is closed).
|
 or
or  to confirm your selections and create the surfaces.
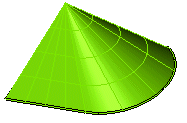
 to discard your changes.