Creating a Fuzzy Offset Surface
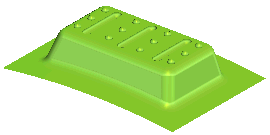
In this tutorial you will create a fuzzy offset surface for a skin. Open the Fuzzy_offset.e3 file available in the Samples folder of your think3 installation and follow the steps given below:
- Start the Fuzzy Offset command and select the skin for the Solid selector.
- A red arrow displays the direction of offset. You can double-click on it to reverse the direction.
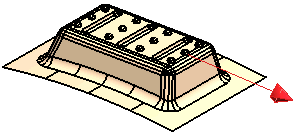
- Enter the offset value in the Offset edit box. For this tutorial, enter 5 as the offset value.
- Under More Options accept the default values of:
- U Degree = 4
- V Degree = 4
- Iterations = 3
- Select the Preview (
 ) button to generate the preview of the offset surface.
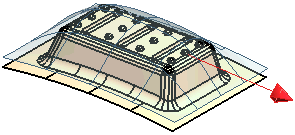
You can toggle the display of the preview by using the Hide Preview ( ) and Retrieve Preview (
 ) buttons.
- You can now select the Distance analysis node to display a graph of point distribution. The graph will show a extreme deviation in point distribution.
- To get a more precise point distribution and generate a fuzzy offset surface that is closer to the original skin, modify the following values:
- U Degree = 8
- V Degree = 6
- Iterations = 7
- Select the Preview button and then do a distance analysis. This time you will note that the points with extreme deviations have significantly reduced. You can also select the Show Warnings (
 ) button to display the Maximum, Minimum and Mean deviation of the sampling points.
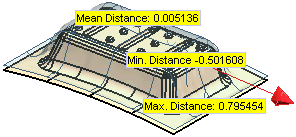
- If are satisfied with the point distribution and the surface preview, apply (
 ) the command to create the fuzzy offset surface.
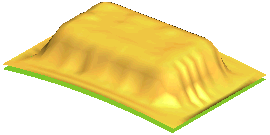
Use Case


 ) button to generate the preview of the offset surface.
 ) and Retrieve Preview (
 ) buttons.
 ) button to display the Maximum, Minimum and Mean deviation of the sampling points.
 ) the command to create the fuzzy offset surface.