Adding Vertex Rip to a Solid
The Vertex Rip command enables you to create rips on the selected vertex of solids. Open the VertexRip.e3 file available in the Samples folder of your software installation and follow the steps given below.
- Start the Vertex Rip command, you will be prompted to select the vertex to create a rip. Now select the vertex of the solid, as shown in the image below. As soon as you select the vertex, the Information on Edge node gets displayed in the selection list.
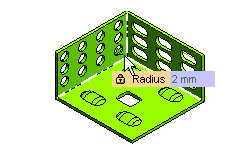
- The number corresponding to each incident edge of the selected vertex is displayed in the Information on Edge drop-down list. The edge number selected in the drop-down list is also highlighted in the Graphics Area as a firm line. Click on the lock icon of the Radius mini-dialog and enter 3 in the edit box.
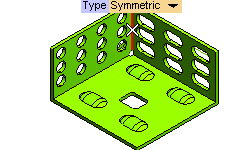
- Next, select the Gap option from the Rip By drop-down list. The Local Properties node gets displayed in the selection list.
- Click on the lock icon and enter 5 in the Gap edit box.
- Click
 or
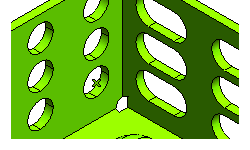
or  to confirm your selections and create the rip, as shown in the image below.
Click  to discard your changes.
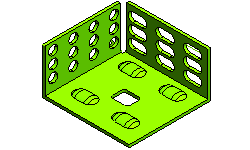
- Next, select the Edge Rip command and select the edge, as shown in the image below.
- Click on the Local Properties node to display the Gap option from the selection list.
- Click on the lock icon and enter 5 in the Gap edit box and click or to confirm your selections to create the edge rip, as shown in the image below.
Also try to ...