The positioning of the lightings is important for giving a realistic look to the rendered image. Any number of lights can be positioned to model depending upon the visualization of the environment. The challenging aspect of lighting is to place the lights in such a manner that it gives a correct visualization.
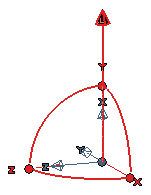
There are lights that can be oriented using the handle. This handle is used to position and set the direction of the lights on the object. The handle appears in the Graphics Area as shown in the image below.
| Note The handle will be visible only when you select the Show Handles check box in the Lighting selection list. |

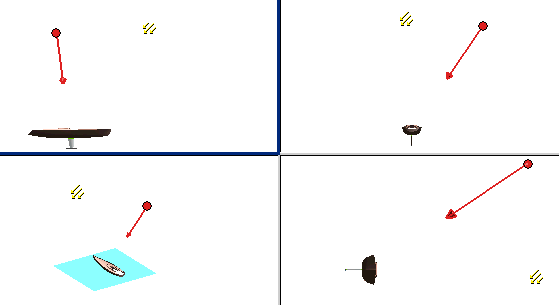
The viewport commands enable to view the object in different views and the position of the light. When we move or change the position of the light in one view, then we can view the change in the other view simultaneously. This gives the exact and accurate visualization of the light position and its angle of illumination. You can drag, rotate and place the light to your required position. Given below is the image of orientation of light using the Four Viewports command.

The models can be rotated to different views by using the Orientation commands and the Hotkeys.
The model view can be changed from one view to another view using the orientation commands. When a light is added using the Lighting command, then you can shuffle with different views to place the light to the exact position as required using the different orientation views.
The Model can be rotated using the combination of keys called the hotkeys. Using the Alt+up, Alt+down, Alt+Right and Alt+left keys the models can be rotated about its origin to any views required.
 e-Learning video list for rendering