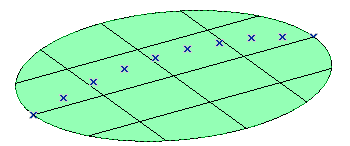
In this task you will apply a controlled modification to a surface by applying the Passing Through Points constraint of the Advanced GSM command. You can accomplish this task by opening file "ThroughPoints.e3".

| 1 | Start the Advanced GSM command. Under Entities to Be Modified, set Entities to Surfaces and select the surface.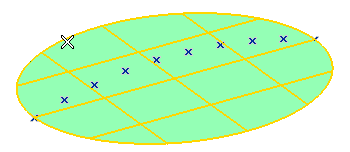 |
||||||||
| 2 | Under the Preserving node, in the Preserving drop-down list select Curves. Click on the curves to be preserved: in this case, the surface boundary.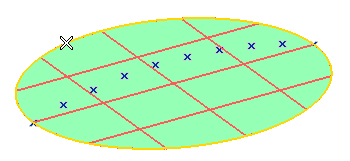 In the Constraint drop-down list, select the constraint to be applied along the curves to be preserved (position, tangency, curvature or projection — to avoid changes along a select direction). In this case, select Keep position. 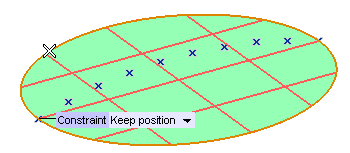 |
||||||||
| 3 | Under Passing Through, set
Passing Through to
Points. |
||||||||
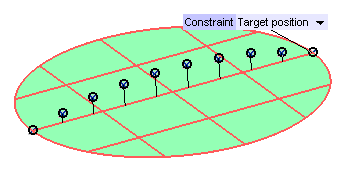
| 4 | In the Group 1 drop-down list, you can choose the type of points to be selected:
|
||||||||
| 5 | In the Projection type drop-down list, you can select the projection to be used in the controlled modification:
|
||||||||
| 6 | Click the Preview button ( ) to assess the result. ) to assess the result.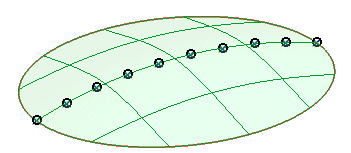 |
||||||||
| 7 | Click  or or  to confirm your selections and modify the shape of the surface. to confirm your selections and modify the shape of the surface.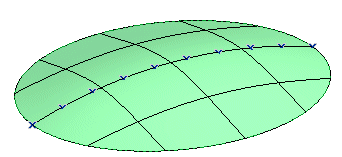 |