Creating a Joint Lip Feature

Open the Lip.e3 file available in the Samples folder of your think3 installation and follow the steps given below.

  1. Start the Joint Lip command.

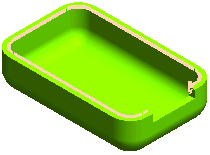
  2. For the Profile selector, select the profile that will be swept to create the lip feature.


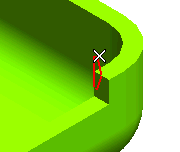
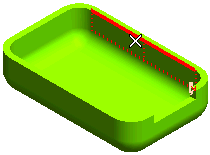
  3. For the Drive Curves selector, select the edges along which the profile will be swept. Note that, while making this selection, the surface to which the edge belongs also gets highlighted. Ensure that you make the selection in the same surface orientation.


  4. You can also make use of Semantic Selection to perform the edge selection activity. On completing this step, the model appears as shown in the figure below.


  5. In the Motion Mode drop-down list you can choose the method to be used to perform the sweep along the drive:
    Constant axis The profile will be swept along the drive curve while keeping its axis constant throughout the motion. Use the Direction drop-down list to select the mode to define the axis direction.
    Along one plane The profile will be swept along the drive curve assuming the orientation of a plane. It will obviously be the plane on which the drive contour lies if the latter is planar.
    Surface based The profile will be swept along the drive curve keeping an orientation based on the one of the selected surfaces (that is, during the motion, the normal will be the one of the surface, while the tangent will be the one of the curve).

    For this tutorial, in the Motion Mode drop-down list select Surface based.

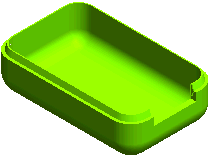
  6. In the Material drop-down list select Add and apply () the command. The lip will be formed as shown in the image below.


Also Try to ...