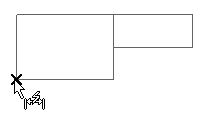
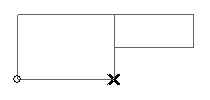
Notice that the program immediately displays the first dimension, which moves as you move the cursor. The alignment of the dimension is determined by the current Orientation.
Distancemeasures distances parallel to the line through the two endpoints |
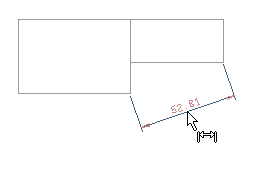 |
Horizontalmeasures distances parallel to the X-axis |
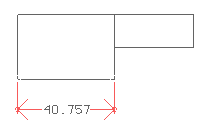 |
Verticalmeasures distances parallel to the Y-axis |
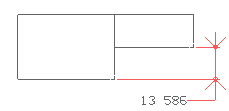 |
Projectedmeasures distances parallel to a specified Angle |
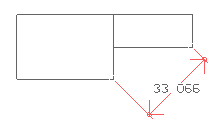 |
Automaticmeasures distances parallel to the line through the two endpoints or parallel to either the X-axis or the Y-axis |
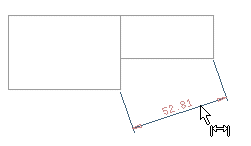 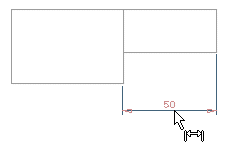 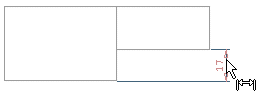 |
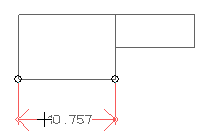
Prior to specifying the location of the dimension line, you can select Format and Properties to change the appearance of the dimension.
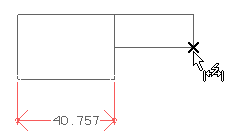
The new dimension is aligned parallel to the previous dimension.
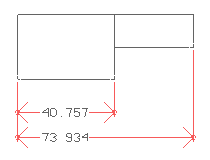
The prompt repeats so that you can continue to insert additional parallel dimensions.