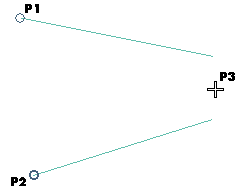
To change the selected points, right-click on Points, select Reset in the context menu and specify the new points.
As soon as the third point is selected, the Tangents Group is displayed:
- In the First Tangent and Second Tangent drop-down lists under Tangents Group, select:
- In the 1st Tangent and 2nd Tangent drop-down lists under Tangents Group, select the desired direction (see " How to define an axis or a line" for details).
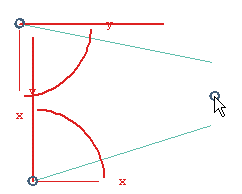
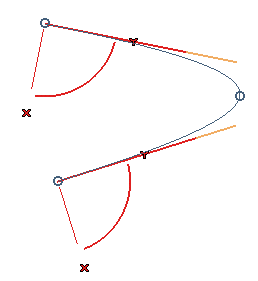
- Use the handles:
- The three arc represent s the three angle s of revolution (about X, about Y, about Z). You can rotate the tangent vector about an axis by dragging the corresponding arc or by typing the value of the rotation into the Angle box which shows up when you pick the arc
- The longest red line represents the tangent vector: you can pick its free endpoint and move it around in the space until you assign the tangent vector the desired direction.
Click
 or
or  to confirm your selections and create the curve.
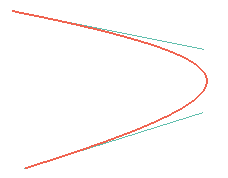
Click
 to discard your changes.