Before mapping the text onto the surface, break it into its component curves using the Break command. After breaking the text and starting the Project Curve command, proceed as follows.
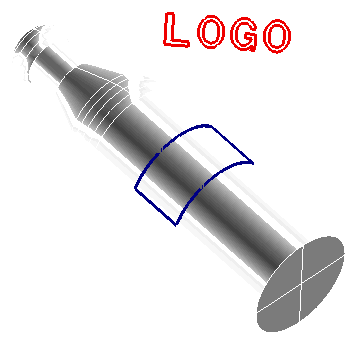
Suppose you have a model like the following and you want to map the "LOGO" text onto the surface of the bottle.

Before mapping the text onto the surface, break it into its component curves using the Break command. After breaking the text and starting the Project Curve command, proceed as follows.
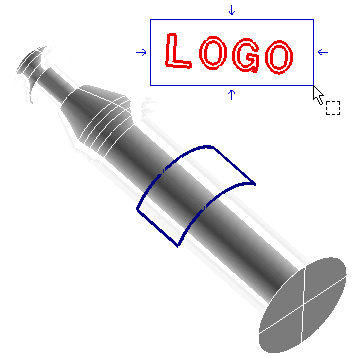
| 1 | Select the curves using an
automatic window selection.
 End selection by right-clicking and choosing Continue in the context menu. To change the selected curves, right-click on Curves, choose Reset in the context menu and perform selection again. |
|||
| 2 | In the Method drop-down list, select Mapping. The Surface, Curve Reference Data and Surface Reference Data items will show up in the selection list. | |||
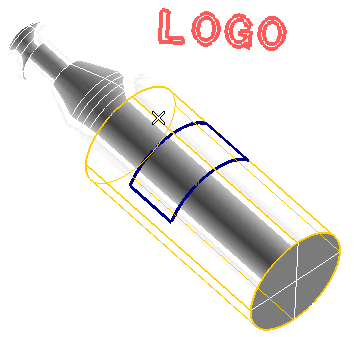
| 3 | Select the surface onto which the selected curves are to be mapped.
 To change the selected surface, right-click on Surfaces, choose Reset in the context menu and perform selection again. |
|||
| 4 | Select three points, in the
following order, to define the mapping points of the curves:
|
|||
| 5 | Specify the mapping points on the surface, in the following order:
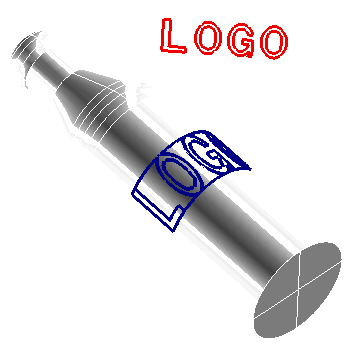
As shown in the above illustration, a preview of the mapped curves is immediately displayed. To change the selected points, right-click respectively on Origin, Point on X axis, Point on Y axis under Surface Reference Data, choose Reset in the context menu and perform selection again. Note that when mapping onto a closed surface, the program displays a vector, indicating the mapping direction, and asks you to confirm the mapping direction, since double boundaries give rise to ambiguity. |
|||
| 6 | Click  or or  to confirm your selections and create the curves. to confirm your selections and create the curves. Click  to discard your selections. to discard your selections. |