| 1 |
Open the file "cv030415.e3". The following model is displayed.
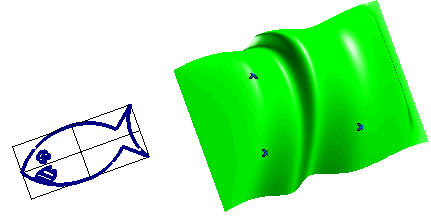
Let's try to map the blue curves on the left onto the green surface on the right.
|
| 2 |
Start the Project Curve command. |
| 3 |
Select the curves to be mapped. Use an an automatic window selection. Then deselect the black lines of the rectangular frame by clicking on them while holding down the CTRL key.
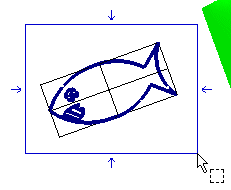
End selection by right-clicking and choosing Continue in the context menu. To change the selected curves, right-click on Curves, choose Reset in the context menu and perform selection again. |
| 4 |
In the Method drop-down list, select Mapping. The Surface, Curve Reference Data and Surface Reference Data items will show up in the selection list. |
| 5 |
Select the surface onto which the selected curves are to be mapped.
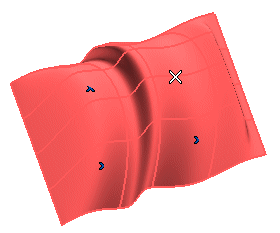
To change the selected surface, right-click on Surfaces, choose Reset in the context menu and perform selection again. |
| 6 |
Select three points, in the
following order, to define the mapping points of the curves:
- The origin (P1)
-
A point on the x-axis (P2)
-
A point on the y-axis (P3).
| 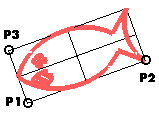 |
To change the selected points, right-click respectively on Origin, Point on X axis, Point on Y axis under Curve Reference Data, choose Reset in the context menu and perform selection again.
|
| 7 |
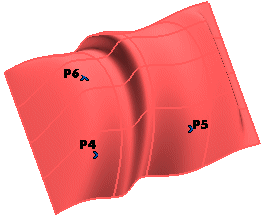
Specify the mapping points on the surface, in the following order:
-
The origin (P4)
-
A point on the x-axis (P5)
-
A point on the y-axis (P6).
|  |
A preview is displayed.
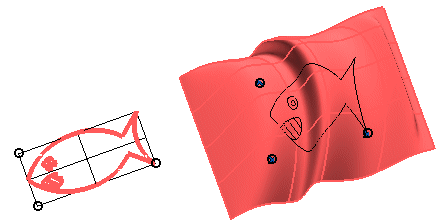
To change the selected points, right-click respectively on Origin, Point on X axis, Point on Y axis under Surface Reference Data, choose Reset in the context menu and perform selection again.
|
| 8 |
Click  or or  to confirm your selections and create the curves. to confirm your selections and create the curves.
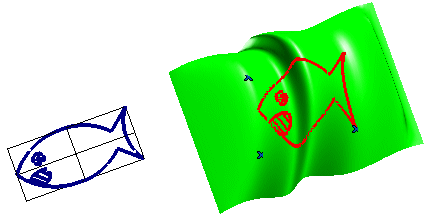
Click  to discard your selections. to discard your selections. |


 or
or  to confirm your selections and create the curves.
 to discard your selections.