| 1 |
Open file "capping.e3".
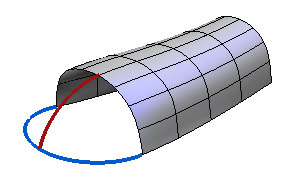
Start the Capping command.
You will create the cap along the blue curves lying on the horizontal plane and the surface boundaries on top, constraining the resulting surface to be through the red internal curve. Continuity will be preserved both along the boundaries and along the internal curve. |
| 2 |
In the Constraint drop-down list select Boundary curves.
|
| 3 |
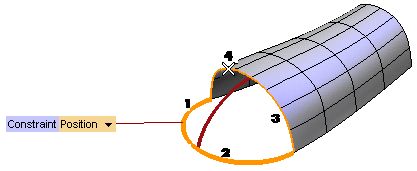
Select the boundary curves as in the illustration below:
 |
| 4 |
In the Constraint drop-down list displayed on the boundary curve, select Position. Positional continuity will be applied along such boundaries. |
| 5 |
In the second Constraint drop-down list in the selection list, select Internal curves. |
| 6 |
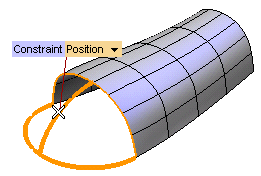
Click on Group 1 and select the red curve.
 |
| 7 |
In the Constraint drop-down list displayed on the internal curve, select Position. Positional continuity will be applied along the curve. |
| 8 |
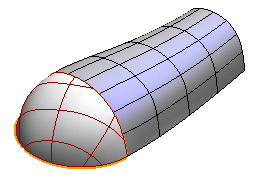
Click the preview button to display a preview of the result.
|
| 9 |
Click the warnings button to display warnings on the resulting surface.
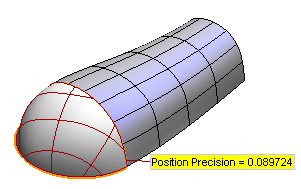
You can check the results you obtained as described in "Checking your results".
|
| 10 |
Click  or or  to confirm your selections and modify the shape of the object. to confirm your selections and modify the shape of the object.
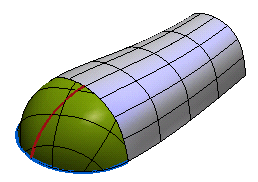
Click  to discard your changes. to discard your changes.
|


 or
or  to confirm your selections and modify the shape of the object.

 to discard your changes.