You can follow the easy steps of this example to see how to create a helical skin based on a given value for the pitch and on a given number of revolutions. Before starting, open sample file "HelixSurf.e3".
| 1 |
Start the Helix Surface command. |
| 2 |
Check that the Rotation drop-down list is set to
Clockwise. If it isn't, set it to
Clockwise. |
| 3 |
In the Mode drop-down list, select
Pitch and revolutions. |
| 4 |
Select the Associative Mode check box, in order to obtain a unique skin (that is a unique open solid rather than a set of surfaces), with as many faces as the number of the helix revolutions. It will retain a link to the entities it derives from. A specific node displaying both the original entities and the resulting skin will be added to the
Model Structure. |
| 5 |
Select the curves to swept in order to create the helical surfaces and end selection by right-clicking and choosing Continue in the context menu.
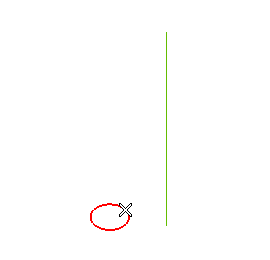
|
| 6 |
Set the Axis drop-down list to
Line (see "How to define an axis or a line). Then select the line.
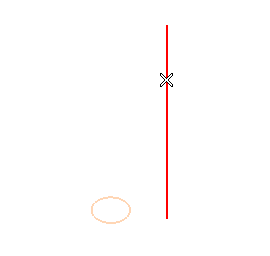
The Pitch and
Revolution boxes are displayed.
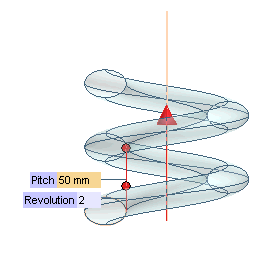
|
| 7 |
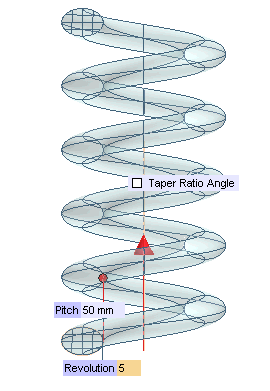
In the Revolution box, type the number of turns for the final skin.
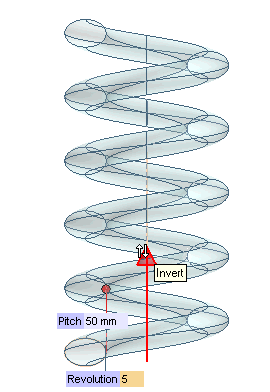
Note that you can invert the direction of the axis and thus of the resulting skin by double-clicking the red arrow (as displayed by the Invert tooltip).
|
| 8 |
Expand the More Options node. In the
Endcap drop-down list, select
Both, so as to create both the initial and the final closure cap for the skin.
|
| 9 |
Check the Axis box in order to create a datum axis on the helix axis. |
| 10 |
Click  or or  to confirm your selections and create the skin. to confirm your selections and create the skin.
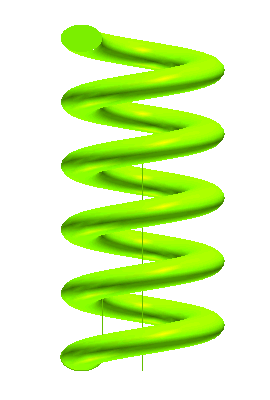
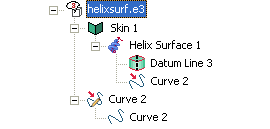
The Model Structure will display the icons of the skin (solid) and of the datum axis.
 |


 or
or  to confirm your selections and create the skin.
