 Work Plane to hide/unhide the Work Plane, or alternatively, press W on the keyboard.
The Work Plane can be displayed in several different ways, depending on the kind of design you are working on (for example: solids rather than advanced surfacing).
You can have the Work Plane hidden or visible whenever you want: use View Work Plane to hide/unhide the Work Plane, or alternatively, press W on the keyboard.
Depending on the specific settings made in the
Reference Systems-
Appearance category of the
System Options, you can customize the way the Work Plane is displayed in accordance with your needs.
 |
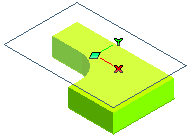 |
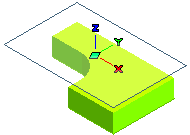
| Z axis checked | Z axis cleared |
 |
 |
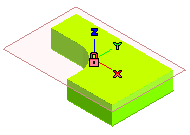
| Axis thickness checked | Axis thickness cleared |
 |
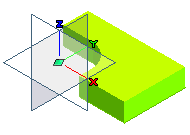 |
| XY plane selected | 3 planes selected |
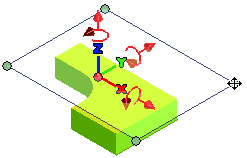
The way you may want to display the Work Plane depends on the kind of modeling you are working at. For example, users that need to work on typical mechanical objects such as plates, holes and pins, usually may not need to display the Z direction; they just need to know where the XY plane is, which sketching plane is current, etc. On the other hand, an industrial designer dealing with complex 3D shapes made of surfaces may need to display the three axes.