| 1 |
Click on the surface you want to analyze. The program immediately displays the selected point with a red circular marker.
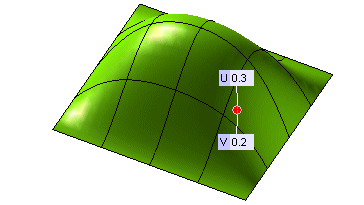
Select the Position check box, if it is not selected already.
Expand the Position node inside the selection list, to see theco-ordinates of the point. |
| 2 |
To analyze the tangency at the point, select
the Surface Tangency check box if it is not already selected. Three mutually perpendicular vectors (in red color) will appear at the point, indicating the surface tangency.
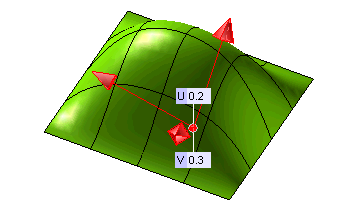
Expand the Surface Tangency node to display further data on tangency of the point. |
| 3 |
To analyze the curvature at a point, select
the Surface Curvature check box if it is not selected already.
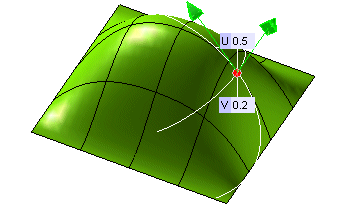
The two radii of curvature (the white curves in the above image) and their normal vectors (as green arrows in the above image) at the point will be displayed. Again, expanding
the Surface Curvature node will yield more results. To display the point with the smallest curvature radius and all the corresponding data,
click the Find min. radius of curvature option in the selection list. |
| 4 |
To analyze the curvature at another point, type the values of the surface parameters at the desired point in the U and V mini-dialog boxes or drag the corresponding point to the desired position.
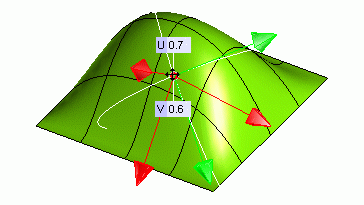
The tangency,curvature or any other data associated with the point will also be updated accordingly. |
| 5 |
To retain geometric data derived from the analysis, select
the Insert Geometric Data check box and click apply. For example,you can retain the curves for the radius of curvature of a point even after exiting from
the command.
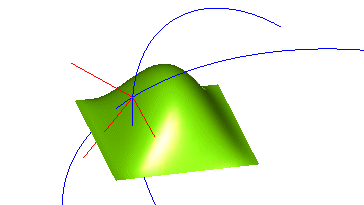
In the above image, the blue curves are the radii of curvature and the red lines are the vectors of tangency, retained as the geometric data. |


