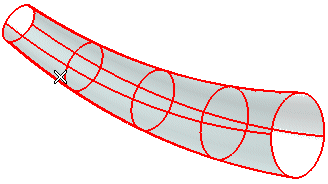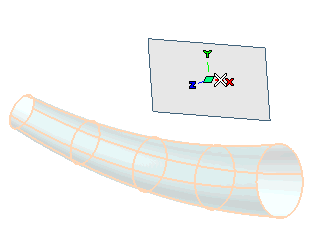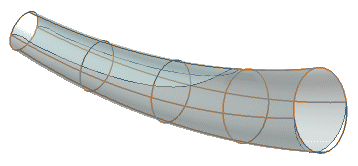

- When the check box is selected, the curves used to split the selected surfaces will be the curves that would be generated in the Silhouette option of the Light Contour Curve command with the Insert Curve on Surface check box selected (the accuracy of which is higher). For details, see "Curves On Surfaces".
- When the check box is cleared, the curves used to split the selected surfaces are ordinary silhouettes.
 ) to get a preview of the result.
 or
or  to confirm your selections and split the surface.
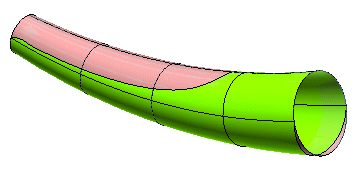
As you can see, the color differentiation has been applied according to the color settings available under More Options. By checking the Output on different layers box, you also might have differentiated the output layer for each of the parts the original surface has been split into ( Cavity surface color, Core surface color, Parallel surface color: in each drop-down list you can either choose an existing layer or type in the name of a new one to create it).