Please note that you can accomplish this task by loading file "spf_constant.e3".
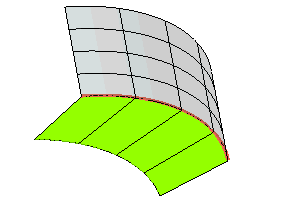
In this task you will use the Spined Fillet command to create a constant radius fillet between two surfaces along a spine curve.
Please note that you can accomplish this task by loading file "spf_constant.e3".

| 1 | Start the Spined Fillet command. |
||||||
| 2 | In the Type drop-down list select
Constant radius. |
||||||
| 3 | Select the first surface (Group A).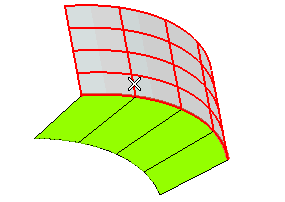 Right-click and select Continue to end selection for the first group of surfaces. |
||||||
| 4 | Select the second surface (Group B).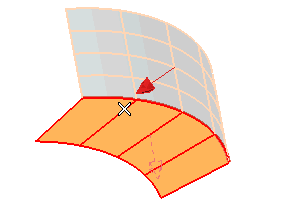 Right-click and select Continue to end selection for the second group of surfaces. |
||||||
| 5 | As you can see, the normal of the second surface is outward bound. If you keep it like that, you won't be able to create the fillet, as the normal of the first surface is inward bound instead. To invert the direction of the normal, thus enabling the creation of the fillet, double-click on the arrow representing the normal of the second surface.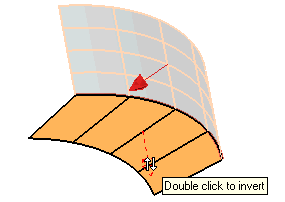 |
||||||
| 6 | Select the spine curve.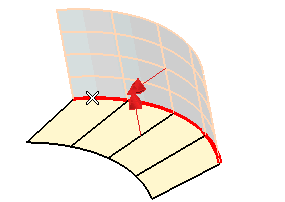 |
||||||
| 7 | In the Radius mini-dialog box, type the value of the radius of the fillet you want to create.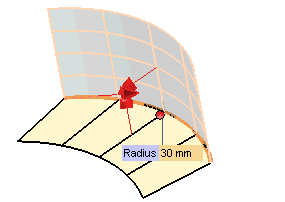 |
||||||
| 8 | In the Extension drop-down list select the fillet extension and then click  or or  to confirm your selections and create the fillet: to confirm your selections and create the fillet:
|