| 1 |
To obtain an associative surface, that is an open solid — a Skin — retaining a link to its base curves, so that if you modify such curves the surface will be modified accordingly, check the Associative Mode box. See "
Associative Surfaces (Skins)" for details.
|
| 2 |
If not already selected, Select As drop-down list, select the
Grid option.
|
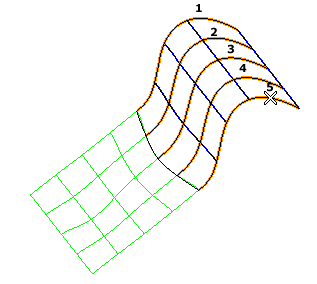
| 3 |
Select the red curves as the first set of curves (Boundary Set A — please note the selection order is completely free):
|
| 4 |
Select the blue curves and the border on the right side of the green surface as the second set of curves (Boundary Set B — the surface border is to be selected as the first or the last one; the selection order for the remaining curves is completely free):
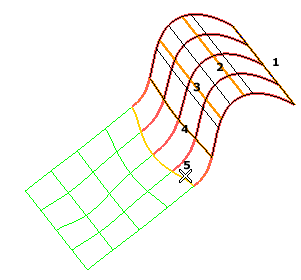
Once the border of the existing surface has been selected, the Continuity drop-down list is displayed, enabling you to choose positional, tangency or curvature continuity along the common border.

If you select Tangent, the resulting lofted surface will have tangency continuity along the common border with the green one.
About tangency continuity
Please note that tangency continuity is ensured only if each curve intersecting the selected surface border is in the tangent plane of the surface border at the point of intersection. |
|
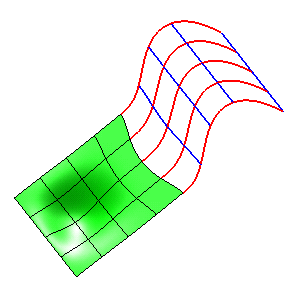
 or
or  to confirm your selections and create the surface.
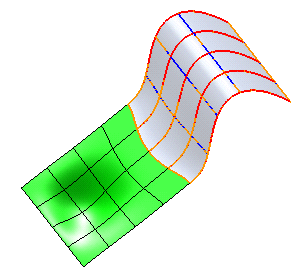
 to discard your changes.