 |
Simple | A flange with a fixed angle of 180° having minimum possible value of the diameter and user defined Length . |
 |
Double | A double flange with fixed angles of 180° having minimum possible value of the diameters and user defined Length . |
 |
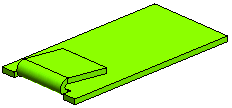
Teardrop | A flange with an angle greater than 180° having user defined Length and
Diameter . |
 |
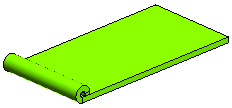
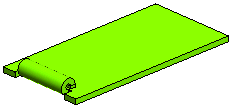
Rolled | A flange with a fixed angle of 270° having user defined Diameter . |
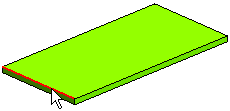
To change the selected edge, right-click on Edge, choose Reset in the context menu and select another edge.
Please note that the actions described in step 1 and in step two can be performed in any order.
1st Distance and 2nd Distance for Extensions
1st Angle and 2nd Angle for Side Angles 1
3rd Angle and 4th Angle for Side Angles 2 (only for Double hem).
Type the values into the relevant mini-dialog boxes.
 or
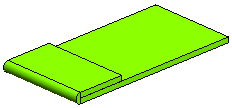
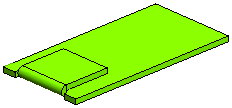
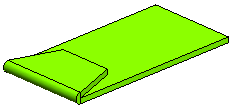
or  to confirm your selections and create the hem. Following are the examples of various kind of hems.
 |
 |
 |
| Simple | Simple with Extensions | Simple with
Side Angles 1 |
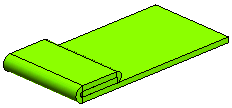 |
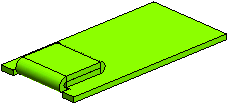 |
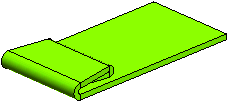 |
| Double | Double with Extensions | Double with
Side Angles 1 & 2 |
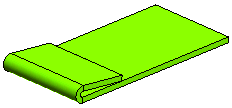 |
 |
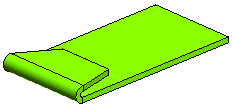 |
| Teardrop | Teardrop with Extensions | Teardrop with
Side Angles 1 |
 |
 |
Side Angles 1 cannot be specified for Rolled hem |
| Rolled | Rolled with Extensions |
| Note You can also create hem having a combination of Extensions and Side Angles. |
 to discard your changes.