![]()
Format Environment
The Environment command enables you to edit the default environment settings or the environment applied using the Environment tab of the Rendering Library palette.
On starting the command the Environment selection list is displayed. The background can be set using the Background drop-down list; Following are its options.
| Solid | The background is set as a solid face. You can choose the color of the solid using the Color dialog box that is displayed after unlocking the Colors and Materials lock . . |
|
| Shaded | The background is set with a shaded solid face. The shades can be varied by selecting the options from the Mode drop-down list. | |
| Image | An image can be browsed and set as the background image. The selected image can be mapped in three ways namely Stretch, Tile and Center as selected from the Mode drop-down list. | |
| Sphere | The background is set as a sphere bounding the model. Click on the Open Preview node to see the preview of the sphere background. You can specify the relative distance between the sphere and the object in the Size edit box. | |
| Cube | The background is visualized as a cube with the six faces bounding the model. | |
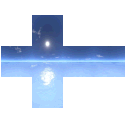
| Cross | A cross image can be browsed and set as background.
|
The Foreground check box when selected enables you to render an effect of the atmosphere in the environment. The following options are available for selection in its drop-down list.
| Depth cue | Renders an effect of thin mist with a specified depth range. |
| Fog | Renders an effect of fog with a specified density. |
| Snow | Renders an effect of snow flakes in the environment. |
The Reflection check box when selected enables you to render a reflection on the model. The following are its options.
| Background | The background image is reflected on the model. |
| Sphere | The spherical environment is reflected on the model. |
| Cube | The cubical environment is reflected on the model. |
| Cross | Browse and select a cross image that will be reflected on the model. |
The Scenery check box when selected enables you to import scenery for more realistic effects. The scenery is a simple think3 application model file(*.e3) representing the scene, which can be imported into the model to recreate the geometrical scene around it. You can scale the scenery by specifying the value in the Scale edit box.
| Note The environment can also be applied using the Rendering Library palette. |
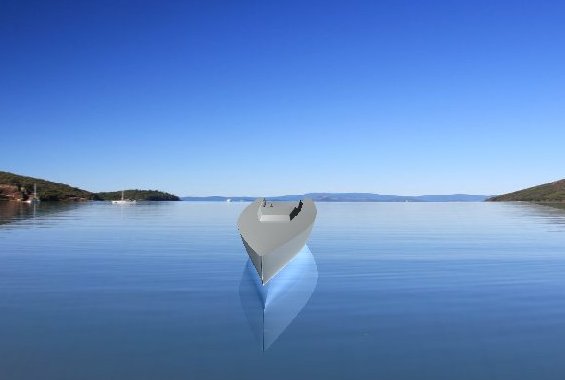
Following is an image rendered of an environment applied to a boat model.
 e-Learning video list for rendering