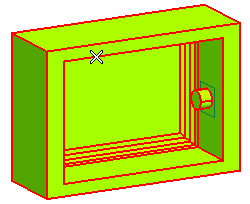
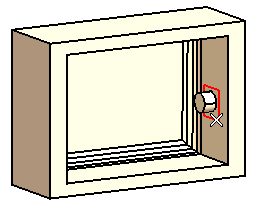
In the following tutorial you will create an insert and a slot using a profile in the core. Open the volume_split.e3 file available in the Samples/mold folder present at the installation location and follow the steps given below.
The first two steps are the same for creating an insert and a slot in the core.


 or
or  to confirm your selections and create a new X-Reference component which is reflected in the Model Structure as Slide Core. The slide core is visualized as seen in the image below after hiding the core.
| Note The Offset and Angle check box are available for selection in the Graphics Area only on selecting the By profile in the Cut-off Insert drop-down list and Single in the Extension drop-down list. |
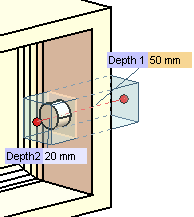
 or
or  to confirm your selections and create the slot in the core, as shown in the image below.