Creating a Core and Cavity from Predefined Solid
In this tutorial you will create the core and cavity by selecting a predefined solid using the Split Mold command. Open the soap_dish_assembly.e3 file available in the Samples/mold folder present at the installation location and follow the steps given below.
- Start the
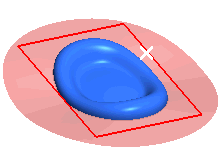
Linear Solid command, and select the profile as shown in the image below.
- Under More Options, select
Double depth from the
Extension drop-down list.
- Enter 50 in both the Depth 1 and
Depth 2 mini-dialog boxes respectively.
- Click
 or
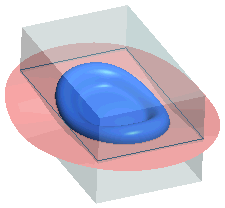
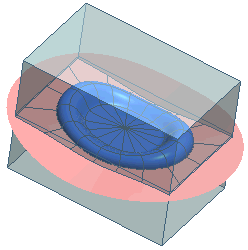
or  to confirm your selections and create the predefined solid as shown in the image below:
Note
The predefined solid has to completely cover the mold part for which the core and cavity is to be created. |
- Change the display to Wireframe View. If the display is in the
Shaded View then the predefined solid does not allow you to select the mold part and parting skin.
- Start the Split Mold command and select the mold part. To reselect the mold part, right-click on
Parts, choose
Reset in the context menu and select the component again.
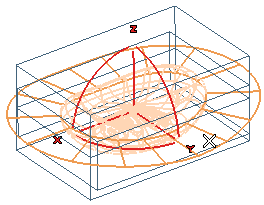
- Click on the Parting Skins selector and select the parting plane as shown in the image below.
- From the Workpiece drop-down list select
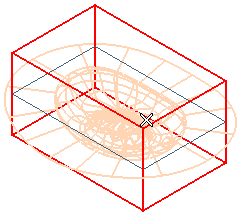
Customized. Select the solid for the
Solid selector.
- Click
 or
or  to confirm your selections and create the core and cavity, as shown in the image below.

 or
or  to confirm your selections and create the predefined solid as shown in the image below:


 or
or  to confirm your selections and create the core and cavity, as shown in the image below.