| 1 |
After loading the model:
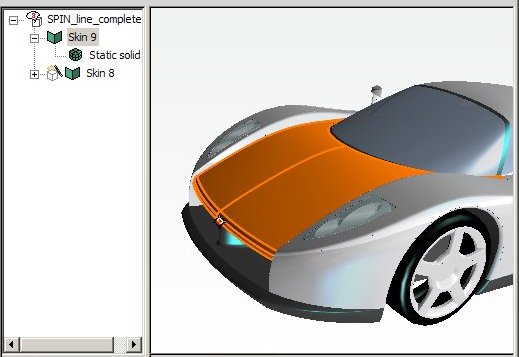
start the Insert Free Hand Curve command.
|
| 2 |
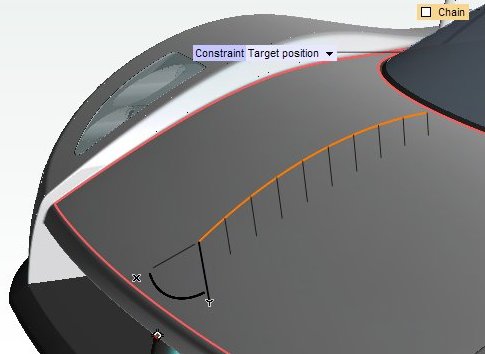
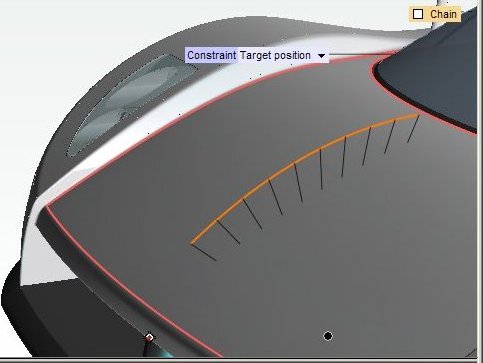
Using the Set Target command, set the target to the appropriate position.
|
| 3 |
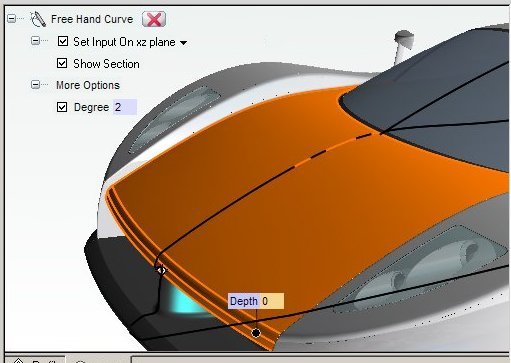
Check the Set Input box, so as to enable input through the Wacom® tablet and pen. In the drop-down list select
On XZ plane, so as to set the input plane to the World XZ plane.
Check the Show Section so as to display the outline of the section obtained on the model by using the input plane. If the
Depth is not the right one, you can drag the handle until it matches your needs.
|
| 4 |
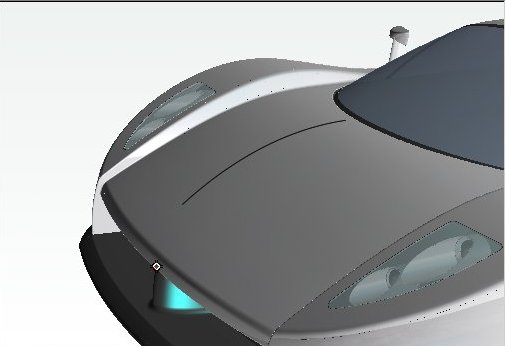
Sketch your new curve and save it.
|
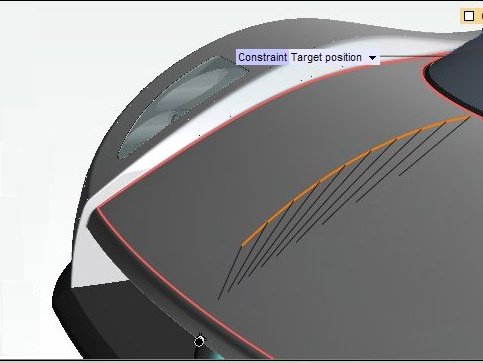
| 5 |
Start the Zone Modeling command and select the surfaces of the hood. Set the
Preserving conditions as shown in the following illustration. Then set
Passing Through to
Section and
Projection Type to
Linear. Please note that with this method the starting curves are automatically selected by the program.
|
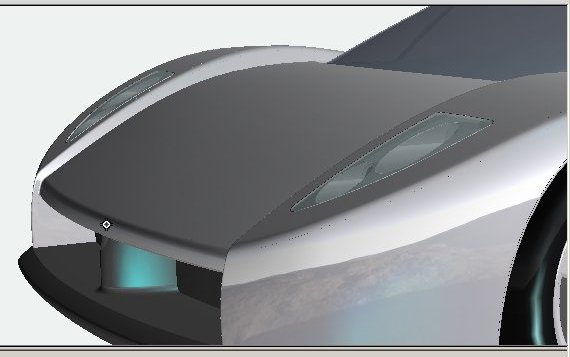
| 6 |
If you change Passing Through to
Section.
The center is displayed. You can change its position as you like:
|
| 7 |
Click  or or  to confirm your selections. to confirm your selections.
Click  to discard your changes. to discard your changes. |