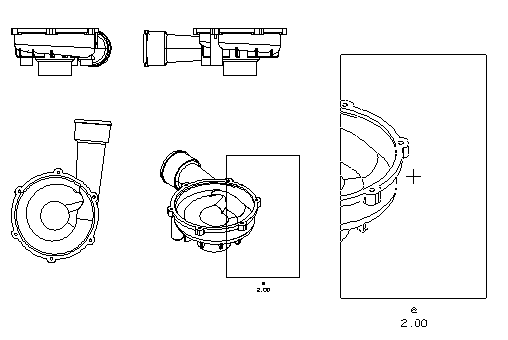
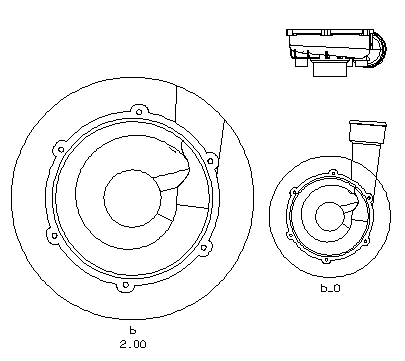
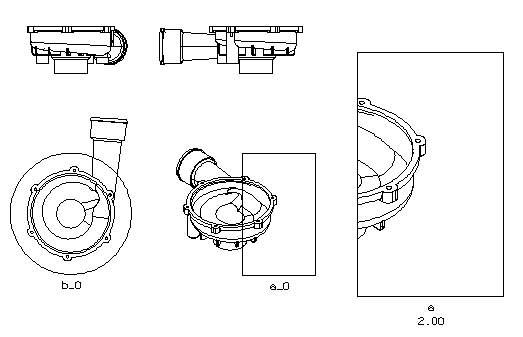
Creating a Detail of a Drawing

First of all, please note that the Detail command is to be used in drawings not deriving from 3D models. To create detailed views in drawing related to 3D models, use the Detail View command. After starting the command, proceed as follows:

1 In the Name box, type the name to be assigned to the detail. The name will be drawn in a caption just beneath the detail frame. If you don't explicitly type a string into the corresponding text box, a sequence letter — a, b, c, ... — will be used as the detail name.
 
2 In the Boundary drop-down list, select the type of frame to be used:
Rectangle to frame the detail with a rectangle
Circle to frame the detail with a circle.
 
3 Define the detail.
  • If you selected the Rectangle frame, specify two opposite corners of the rectangle:


  • If you selected the Circle frame specify the center and a point the circle must be through:


4 In the Scale mini-dialog box, type the scale factor to be used for the detail (>1 enlarges, <1 reduces) and press the TAB or the ENTER key.
 
5 Optionally set additional options under More Options:
  • To create the detail as a shared group, select the Shared check box. If you don't select the Shared check box, the detail will be created as a non-shared group.
Creating a detail as a shared group
If you create the detail as a shared group, when you set it as the current group in order to work inside it, you will see the entities belonging to the group in their original unitary scale. All the operations regarding dimensioning, adding or modifying geometrical entities and retrieving geometric information will be independent of the scale factor.

On the contrary, if the detail is a non-shared group, you will see the entities in the scale used to create the detail.
Please note that though you may have created the detail as a shared group, it will be a non-persistent shared group: if you delete all of its copies in the drawing, its archetype will be automatically removed from the Shared Group tab.

  • To rescale the font size of texts and dimensions according to the detail Scale, select the Update font size check box. If you don't select the Update font size check box, the font size of texts and dimensions will be left as it is.

6 Place the detail. Move the detail to the position of the drawing you to place it in and click the mouse.


In both cases, the detail is created as a group (shared or non-shared, depending on what you chose): In addition to this, another group is created as the detail reference frame. The group name is the same as the detail group name, with the "_0" suffix (name_0). It contains: