| 1 |
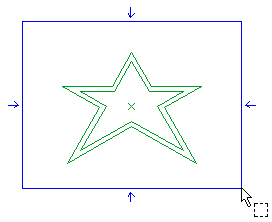
Select all the entities you want to gather into the new group. If you click within the drawing other than on an entity and drag the cursor, the think3 application goes into automatic window selection mode.

To change the selected entities, right-click on Entities, select Reset in the context menu and perform selection again.
|
| 2 |
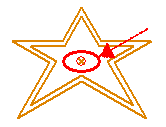
The origin is automatically defined on the center of the selected set of entities.

To change the origin, right-click on Origin, select Reset in the context menu and specify the new origin.
|
| 3 |
To create a shared group, select the Shared check box. |
| 4 |
In the Name box, type the name to be assigned to the group you are creating (default is "sharedGroup#" where # is a sequence number automatically increased by the program at each new shared group creation). |
| 5 |
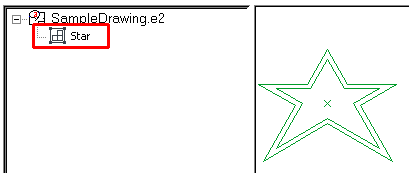
Click  or or  to confirm your selections and create the group. to confirm your selections and create the group.

Click  to discard your changes. to discard your changes. |


 or
or  to confirm your selections and create the group.
 to discard your changes.