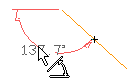
Select the entity anywhere along its length except at a Snap point.
Select one of the following options from the Orientation drop-down list:
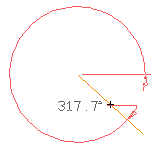
| Projected |
To create the angular dimension that subtends the angle from the selected entity to a line projected at the angle specified in the Angle mini-dialog box |
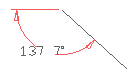
| Horizontal |
To create the angular dimension that subtends the angle from the selected entity to the X-axis |
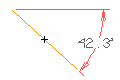
| Vertical |
To create the angular dimension that subtends the angle from the selected entity to the Y-axis |
| Note You must select the orientation prior to selecting one of these buttons. Once you click one of these buttons, you can no longer change the orientation. |
As soon as you select the point, the program immediately creates the dimension.