To change the selected views, right-click on Views, select Reset in the context menu and perform the selection again.
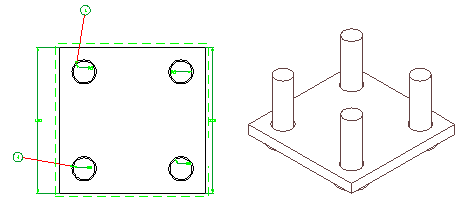
| Importance of the view selection order The order used to select views may be important. In fact, if a part is visible in more than one view, the corresponding balloon will be displayed in the view you selected first. |
 or
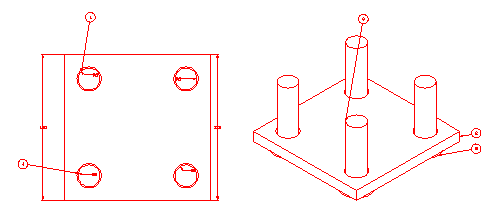
or  to confirm your selection and insert the balloons.
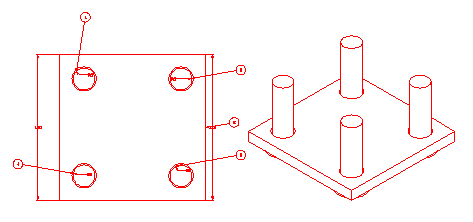
Click
 to discard your selections.
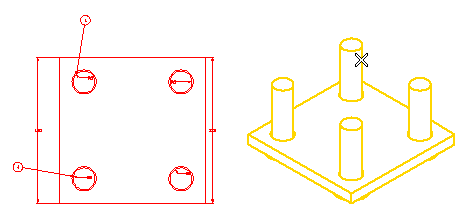
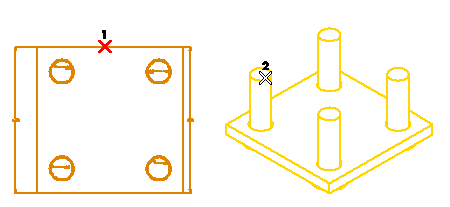
Please note that, as the view selection order determines the views to which balloons are added, if you had selected first the view on the right and then the one on the left, balloons would have been added to the isometric view, as shown below.