Creating an ellipse given the center and the axes
The Center, major and minor axis option of the Ellipse command enables you to create an ellipse or elliptical arc defined by its center point and its major and minor axes. After specifying the center point, you need to specify the lengths of the major and minor axes, and the angle between the major axis and the X-axis of the Work Plane coordinate system. To create an elliptical arc instead of an ellipse, you have to specify a start angle and an end angle.
After starting the Ellipse command, proceed as follows.
- In the Type drop-down list, select Center, major and minor axis.
- Specify the center point by clicking or using Snap.
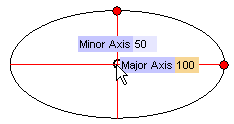
To change the selected point, right-click on Point, select Reset in the context menu and specify the new center.
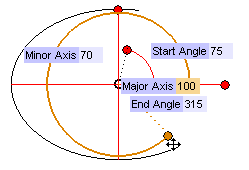
- In the Major Axis and Minor Axis mini-dialog boxes, type the length of the major and minor axis respectively, or drag the corresponding handles to the positions defining the required lengths.
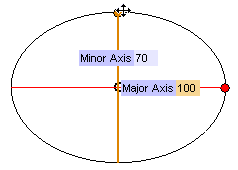
- To create an elliptical arc rather than a whole ellipse, select the Boundary check box under More Options; the Start Angle and End Angle mini-dialog boxes are displayed.
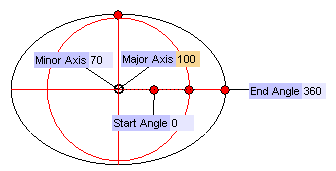
- In the Start Angle mini-dialog box, type the start angle of the elliptical arc, or drag the handle to the position corresponding to the required start angle.
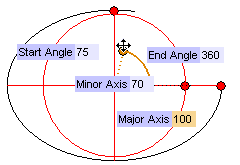
- In the End Angle mini-dialog box, type the end angle of the elliptical arc, or drag the handle to the position corresponding to the required end angle.
- To rotate the ellipse or elliptical arc select the Rotation check box under More Options. The Ccw Rotation mini-dialog box is displayed.
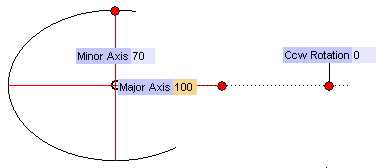
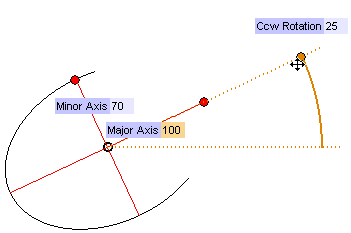
- In the Ccw Rotation box (CCW = CounterClockWise), type the angle between the major axis of the ellipse and the X-axis of the Work Plane coordinate system, or drag the corresponding handle to the required angle.
- Click
 or
or  to confirm your selections and create the curve.
Click  to discard your changes.
Axis visualization
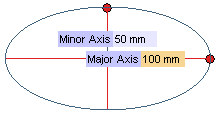
The Axes check box under More Options enables you to control the visualization of the curve axes.
- When selected, the preview of the axes of the curve is displayed.
- When cleared, the axes are not displayed.
 |
 |
| The Axes check box selected |
The Axes check box cleared |
Complementary curve
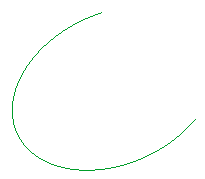
The Complementary curve check box under More Options enables you to create the complementary curve of the one you are actually previewing. You can use the Complementary curve check box to switch from the actual curve whose parameters you have entered to its complement. Refer to the image below.
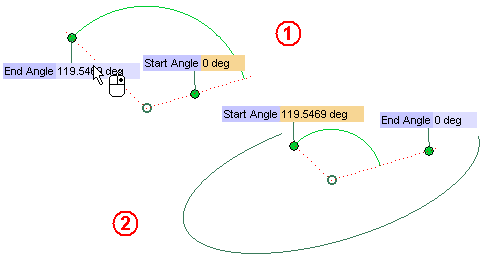
- When the Complementary curve check box is cleared, the resulting curve will be the one you actually set the parameters of.
- When the Complementary curve check box is selected, the resulting curve will be its complementary curve.
|


 or
or  to confirm your selections and create the curve.
 to discard your changes.


 or
or  to confirm your selections and create the curve.
 to discard your changes.