- To select all the interpolation points that lie between two of them, hold down the SHIFT key while selecting the interpolation points corresponding to the first and the last point.

- To deselect a selected point, click on it while holding down the CTRL key.
- By steps.
Select Step under Tools to display the Modify Selected Points dialog box.Step This setting specifies the step by which the arrow buttons move the selected interpolation points in the corresponding direction: hence, each time you click one of the arrow buttons, the interpolation point moves in the direction of the arrow by a distance equal to the value of the step. Arrows Click one of the arrow buttons: the interpolation point moves in the direction of the arrow (+x, -x, +y, -y, +z, -z) by a distance equal to Step each time you click. KD The distribution factor. It determines the distribution of the movement of the farthest selected points from the last point, which will be marked in green; if you don't get any green marker, no "last point" is defined and the distribution factor will have no effect. Note that there is a "last point" for each curve: if two surfaces are selected, there is a "last point" for each curve which will be the center of the movement from that curve. Proceed as follows: - First set the distribution you want to use (see below)
- Then select the points you want to be affected
- Now pick any point in the selected set: this point is the one that is being moved directly. All the other points are moved based on the rule
The type of the distribution can be selected in the drop-down list:
None no distribution Linear distribution is linear Quadratic distribution is quadratic Cubic distribution is cubic. The value of the distribution factor varies in the range [0,1]; the lower this value is, the more the shape will correspond to the type of distribution you selected:
1 applies the same movement of all the interpolation points within the range. If this value is set, the type of the distribution is going to be ignored. 0 the movement is applied in inverse proportion to the distance from the central interpolation point. If this value is set, the shape will fully correspond to the type of distribution you selected.
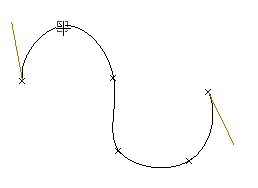
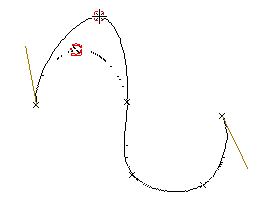
- By dragging the interpolation point to another location using the mouse and then click the mouse button to fix it at the new location. The plane where the point is moved is defined by the current option of the Move drop-down list.
Moving points along an axis
Using some keys of the keyboard, you can constrain points to move along the direction of an axis. Proceed as follows:- While dragging the points (after you've pressed the selection button of the mouse), click one of the following keys (no matter whether upper or lower case):
The cursor will be changed accordingly to the chosen constraint.H to constrain points to move along the horizontal direction of the screen V to constrain points to move along the vertical direction of the screen D to constrain points to move along the depth direction (the one perpendicular to the plane of the screen). - The distance points will be moved along the depth axis is the same as the one you moved the mouse from the original position along the horizontal axis.
- If you move the mouse to right, the points will be moved in the positive depth sense (outward from the screen); if you move the mouse to the left, the points will be moved in the negative sense (inward to the screen).
X to constrain points to move along the X direction of the Work Plane Y to constrain points to move along the Y direction of the Work Plane W to constrain points to move along the Z direction of the Work Plane.
- To release the constraint, release the selection button of the mouse. Click another of the above listed keys to change the constraint.
- While dragging the points (after you've pressed the selection button of the mouse), click one of the following keys (no matter whether upper or lower case):
The Degree drop-down list under More Options enables you to choose 3 to modify the dgre so as have an ordinary cubic spline, 5 to obtain a quintic curve or 7 to obtain a septic curve when you need smoother continuity at the interpolation points.