Before projecting the text onto the surface, break it into its component curves using the Break command. After breaking the text and starting the Project Curve command, proceed as follows.
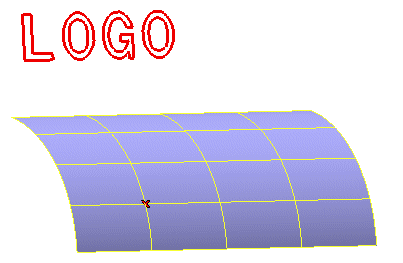
Suppose you have a model like the following and you want to lay down the "LOGO" text onto the surface.
Before projecting the text onto the surface, break it into its component curves using the Break command. After breaking the text and starting the Project Curve command, proceed as follows.
| 1 | Select the curves using an automatic window selection.
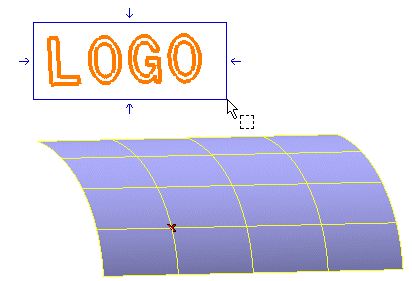 End selection by right-clicking and choosing Continue in the context menu. To change the selected curves, right-click on Curves, choose Reset in the context menu and perform selection again. |
| 2 | In the Method drop-down list, select Laying down. The Surface, Curve Reference Data and Surface Reference Data items will show up in the selection list. |
| 3 | Click on the surface onto which you want to lay down the curve.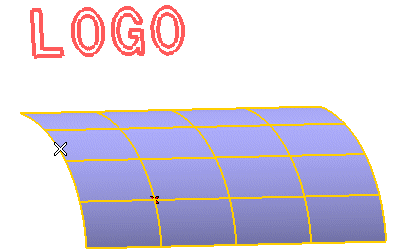 End selection by right-clicking and choosing Continue in the context menu. To change the selected surface, right-click on Surfaces, choose Reset in the context menu and perform selection again. |
| 4 | Specify the reference point on the curve.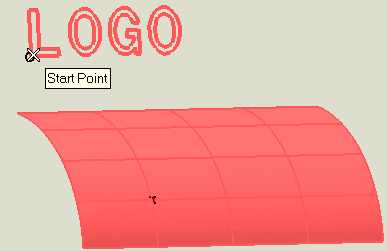 To change the selected point, right-click on Reference point under Curve Reference Data, choose Reset in the context menu and select another point. |
| 5 | Specify the reference point on the surface.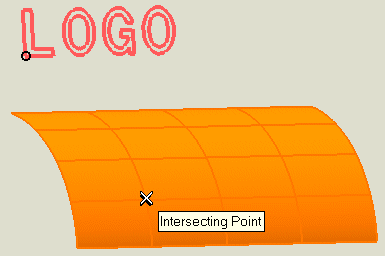 A preview is displayed. 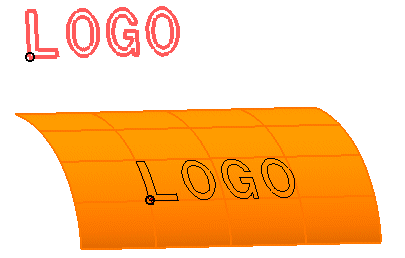 To change the selected point, right-click on Reference point under Surface Reference Data, choose Reset in the context menu and select another point. |
| 6 | Click  or or  to confirm your selections and create the curves. to confirm your selections and create the curves.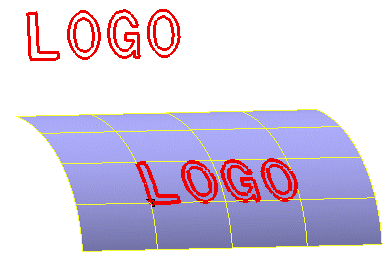 The curves are fitted with a polyline. The plane containing each section of the polyline is rotated so that it coincides with the fitting plane of the surface using the smaller of the two possible rotation angles. Note that if the two planes are perpendicular, you can click on a point to the left or right of the selected starting pint to indicate the direction of rotation. Click |
 to discard your selections.