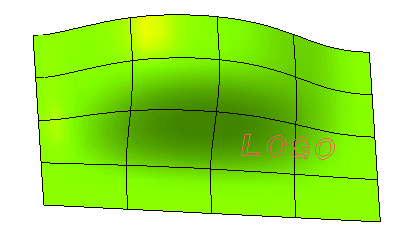
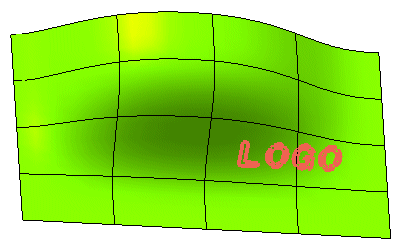
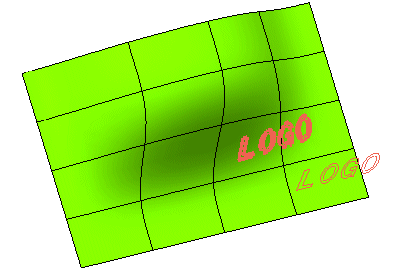
Please note that the "LOGO" text has been exploded into its component curves using the Break command. The following illustration shows the position of the curves relative to the surface.
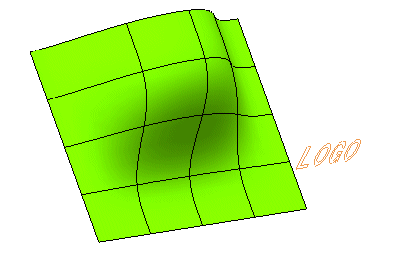
Now, let's suppose the view direction is the one of the first illustration and let's go on with the step-by-step example.
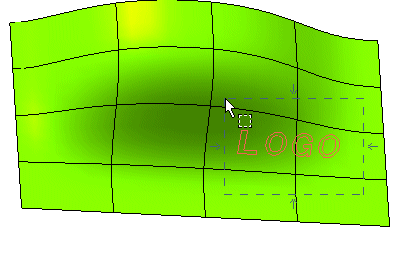
End selection by right-clicking and choosing Continue in the context menu. To change the selected curves, right-click on Curves, select Reset in the context menu and perform selection again.
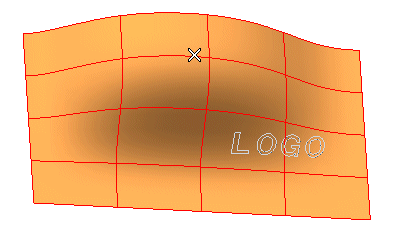
A preview is immediately displayed.
To change the selected surface, right-click on Surface, choose Reset in the context menu and select another surface.
 or
or  to confirm your selections and create the curves.
Click
 to discard your selections.