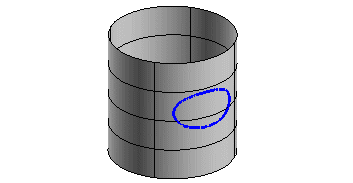
Once you have started the Offset Curve on Surface command, you can proceed as follows (please note that you can follow this step-by-step example by loading file: "OffsetSamples.e3").

| 1 | In the On drop-down list select
Surface. |
| 2 | Select the curve you want to offset and end selection.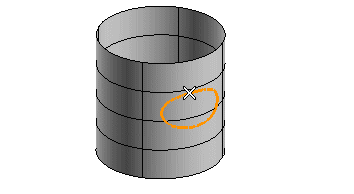 To change the selected curves (for example if you selected the wrong ones by mistake), right-click on Curves in the selection list, select Reset and select other curves. |
| 3 | Select the reference surface.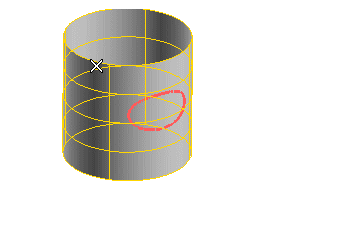 To change the selected surface (for example if you selected the wrong one by mistake), right-click on Surface in the selection list, select Reset and select another surface. The Normal distance and the Binormal distance mini-dialog boxes are displayed 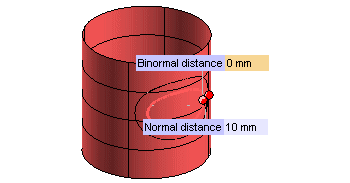 |
| 4 | In the Normal distance mini-dialog box type the value of the offset distance along the direction of the normal to the curve, or drag the corresponding handle to the position you like. The preview displays the offset curve.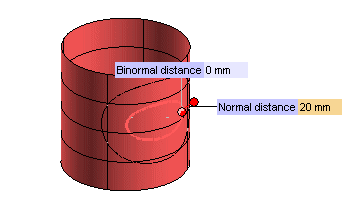 |
| 5 | In the Binormal distance mini-dialog box type the value of the offset distance along the direction of the curve binormal (i.e: the normal to the surface in each point of the curve), or drag the corresponding handle to the position you like. The preview of the offset curve is automatically updated.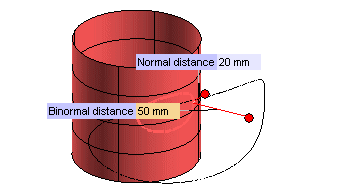 Please note that by double-clicking on the handles you can reverse the offset orientation (both in the normal and in the binormal direction): 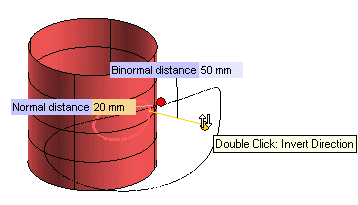 |
| 6 | In the Mode drop-down list, select
Copy. |
| 7 | In the No. of curves box type the number of offset curves you want to obtain. Default is 1. Please note that if the number is greater than 1, each new offset curve will be created relative to the previous one by adding the offset distance in the respective direction.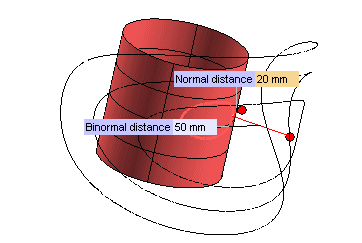 Now suppose you set the number of curves to 1. |
| 8 | Click  or or  to confirm your selections and create the curve(s). to confirm your selections and create the curve(s).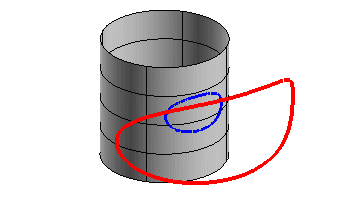 Click  to discard your changes. to discard your changes. |