Creating the offset of a 3D curve
In this tutorial you are going to offset a 3D curve with reference to a plane by using the Offset Curve on Surface command. Open the Offset3D.e3 file available in the Samples folder of the installation and follow the steps given below.
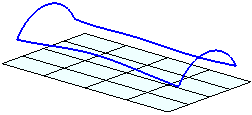
- Start the Offset Curve on Surface command and select the curve you want to offset for the Curves selector.
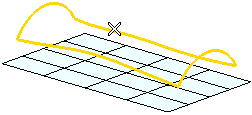
- Select Plane in the On drop-down list .
- In the Plane drop-down list select Plane and select the datum plane from the Graphics Area. This datum plane will be used as the reference plane for making the offset.
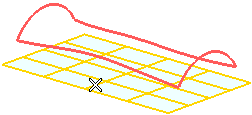
- Define the offset value as 20 in the Distance mini-dialog box. If need be, change the direction of offset by double-clicking on the red handle. A preview of the offset curve is displayed.
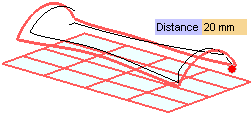
Note that offset is not continuous and the transitions are not proper.
- Set Transition to Fillet and select the Use inferred surface check box under More Options. The preview updates to a proper offset curve.
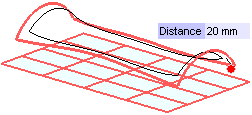
- Select the Copies check box and enter 2 in the adjacent text box. Please note that if this number is greater than 1 (default), each new offset curve will be created relative to the previous one by adding the offset distance in the same direction.
- Click
 or
or  to confirm your selections and create the curve. The two offset curves from the top will appear, as shown in the image below.
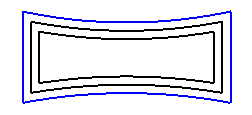
The datum plane has been made hidden for clarity.
Click  to discard your changes.


 or
or  to confirm your selections and create the curve. The two offset curves from the top will appear, as shown in the image below.
 to discard your changes.