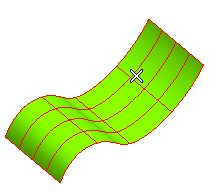
Remember you can always change the selected surface (for example if you selected the wrong ones by mistake) by right-clicking on Surface, choosing Reset in the context menu and selecting a new surface.
- If the selected option is U Parameter, an U curve (u=constant, v variable) through the click point used to select the surface will be displayed.
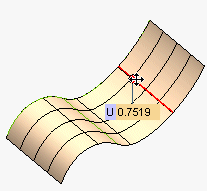
By dragging the handle, you can move the curve to a different position, corresponding to a different U value, which you can also specify by typing the value in the U box.
The number of curves to be created can be specified in the Number of curves box. The following illustration shows what happens if you specify a numebr of 10 curves.
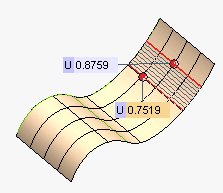
You can change the surface area to be covered with isoparametric curves by using the handles to properly drag the starting and the ending curve or by specifying the parameter values in the U boxes.
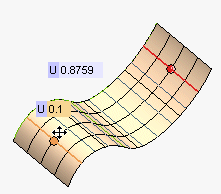
Similarly in the case of V parameter.
- If the selected option is UV Parameter, an U curve and a V curve through the click point used to select the surface will be displayed.
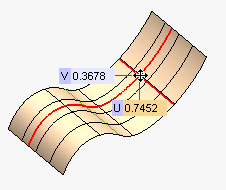
Also in this case you can interactively move the curves on the surface by dragging the handle or specify proper values in the U and V boxes.
 or
or  to confirm your selections and actually create the curves.
Click
 to discard your changes.