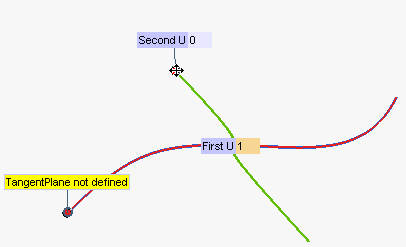
A message informing no common tangent plane was detected relative to the two selected points might be displayed.
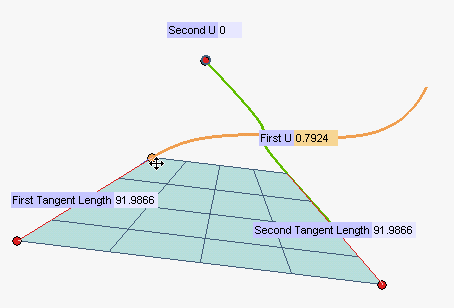
You can easily redefine the position of both selected points by using the corresponding handles or by typing the curve parameter value into the First U and Second U boxes respectively. Therefore, you are enabled to interactively check the existence of a common tangent plane. While you change the point position, as soon as a common tangent plane is detected, the warning will disappear and a preview of the plane will be displayed.

You can modify the length of the tangent lines by using the corresponding handles or by typing the length values in the boxes First Tangent Length and Second Tangent Length respectively.
Additional options are available under More Options.
| Invert Enable | When checked, double-clicking on the handles of the tangent lines enables you to invert their direction. When not checked, the direction cannot be inverted. |
| Same Size | When checked, the size of the lines is the same for both: if you change one, the other will be modified accordingly. When not checked, the length behavior depends on the value of the Same Ratio check box which shows up in that case. |
| Same Ratio | If checked, when you modify the length of one line, the length of the other is automatically modified in order to maintain the original ratio unchanged. When not checked, each line length can be modified separately and independently of the other. If both Same Size and Same Ratio are unchecked, you will get the actual value for the tangent length. |
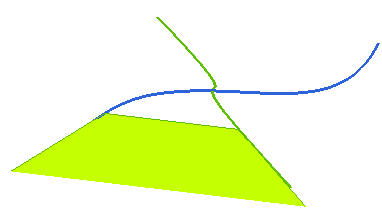
| With Plane | When checked, the common tangent plane is displayed. When not checked, the plane is not displayed. |
| With Line | When checked, a line representing the common tangent plane is displayed. When not checked, the line is not displayed. |
 or
or  to confirm your selections and create the plane or the line which represents it, depending on the chosen options.