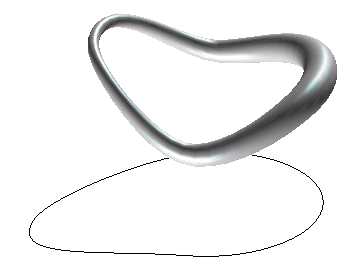
You may need to create a surface tangent to the existing surface and through the curve:
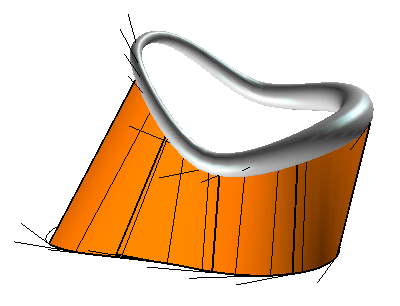
You can proceed as described below.
Given a a curve a and a surface, like the ones in the following illustration:

You may need to create a surface tangent to the existing surface and through the curve:

You can proceed as described below.
| 1 | Load file "DesignAids_UC_tang.e3" and start the Tangent Plane command. |
| 2 | Select the First Point on the curve as shown in the illustration below:
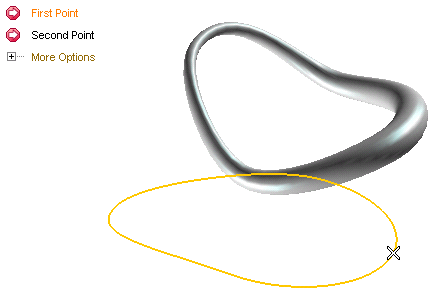 |
| 3 | In the First U mini-dialog box, set the value to 0 (i.e: the first end point of the curve).
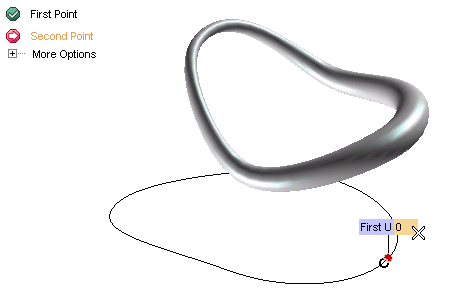 |
| 4 | Select the Second Point on the surface as shown in the illustration below:
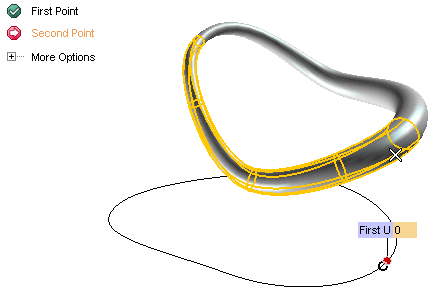 |
| 5 | When the preview is displayed, under More Options set Second surface vector to Tangent V
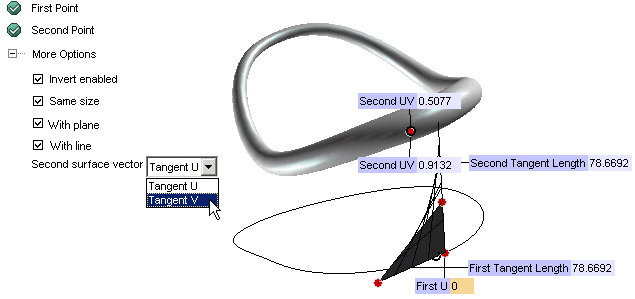 |
| 6 | The preview changes as follows:
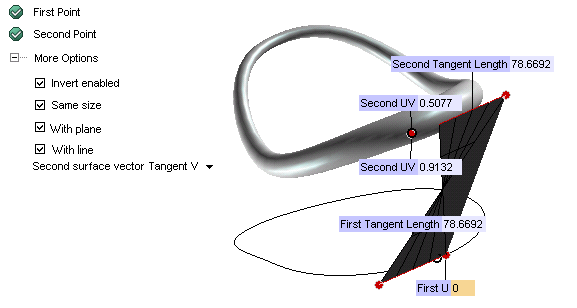 Double-click on the handle shown in the following illustration to invert the orientation of the line: 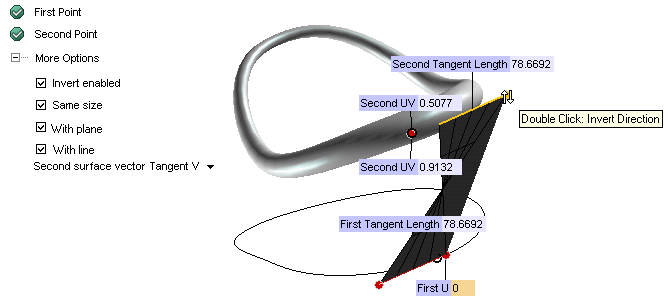 and you will get the following: 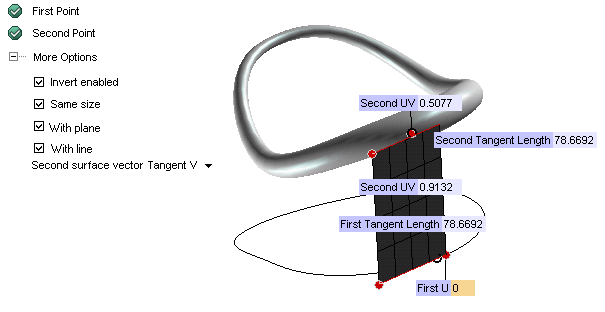 |
| 7 | Uncheck the With plane box to get a clearer view of the tangent line to the curve and to the surface:
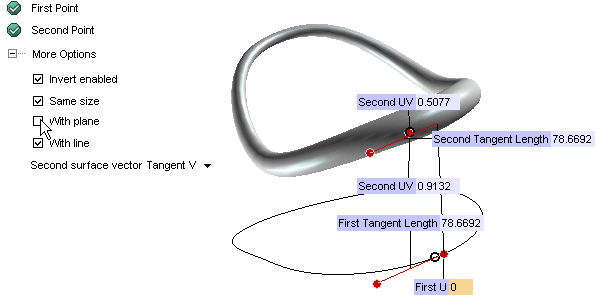 |
| 8 | Select
 to create the line to create the line
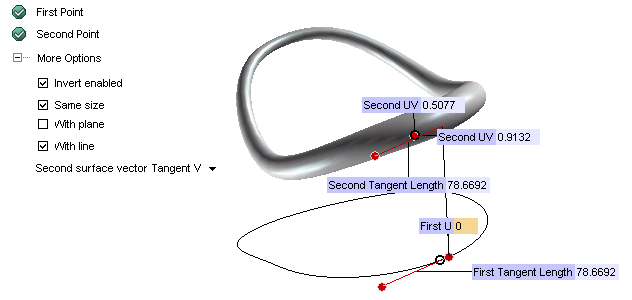 |
| 9 | Now you can go on creating new lines just by modifying the value in the First U mini-dialog box:
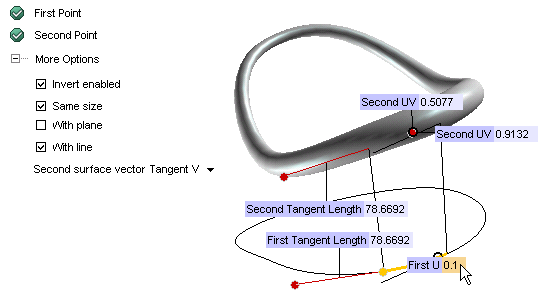 and selecting  : :
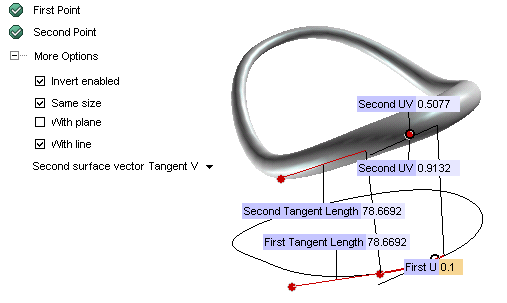 Go on supplying new values. The higher the number of lines you create, the more accurate the resulting surface you will obtain as a result. |
| 10 | Once you have created a certain number of lines:
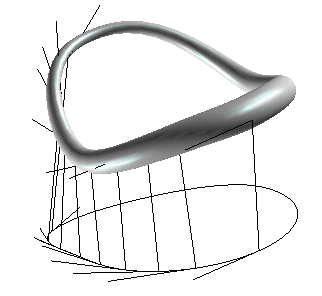 start the Lofted Surface command: 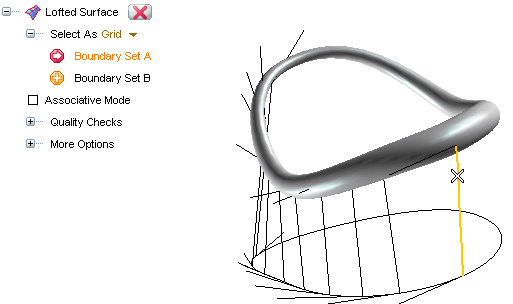 and select the lines (clicking close to their upper end point) as Boundary Set A: 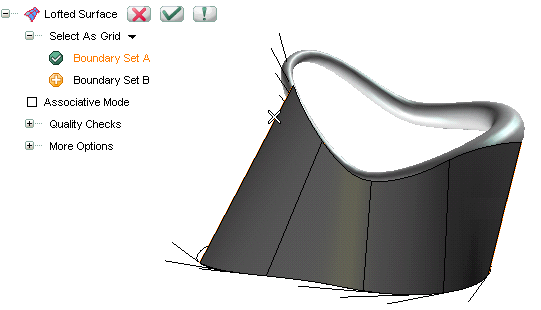 |
| 11 | Select  to create the surface and quit the command. to create the surface and quit the command.
 |