Creating a lofted surface starting from four curves (Proportional)
In this tutorial, you will create a proportional lofted surface starting from four curves. Open the proportional.e3 file available in the samples folder of your think3 installation and follow the steps given below:
- In the loaded model you can see two orthogonal sets of parallel curves (the blue ones are the drives, and the red ones are the boundaries).
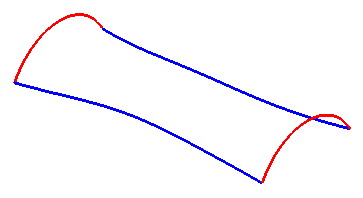
- Start the Lofted Surface command and in the Select As drop-down list, select Grid.
- Select the Associative Mode check box to obtain an Associative Surface (Skin), so that if you modify the boundary curves the surface will be modified accordingly.
- Select the blue curves (the drives) as the first set of curves for the Boundary Set A selector and end selection.
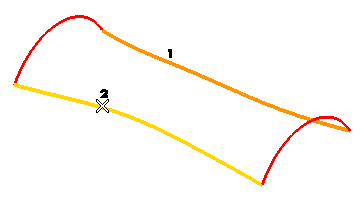
A preview is displayed, as shown in the image below.
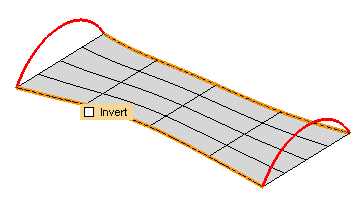
To change the selected curves (for example, if you selected the wrong ones by mistake), right-click on Boundary Set A in the selection list, select Reset from the context menu and perform the selection again.
- If the preview displays an unwanted twist in the surface, select the Invert check box to remove it. This behavior depends on whether or not the two boundary curves have the same orientation. If they don't, the resulting proportional surface will be twisted. Selecting the Invert check box enables to remove the twist.
- Select the red curves (the boundaries) as the second set of curves for the Boundary Set B selector and end selection. Now the preview will be displayed, as shown in the image below.
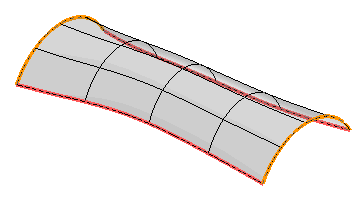
To change the selected curves (for example if you selected the wrong ones by mistake), right-click on Boundary Set B in the selection list, select Reset from the context menu and perform the selection again.
- Under More Options, the Type drop-down list is set to Default. Change it to Proportional.
- In the 1st Weight and 2nd Weight respectively, type the values of the weights of the two boundary curves. The greater the weight of one curve relative to the other, the more the shape of the resulting proportional surface is affected by the corresponding curve.
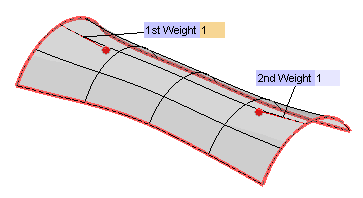
- Under the More Options - Surface Type Options node, you have additional options to customize the Proportional surface parameters.
See Setting the Orientation of a Proportional surface for details on selecting the orientation.
- Click
 or
or  to confirm your selections and create the surface.
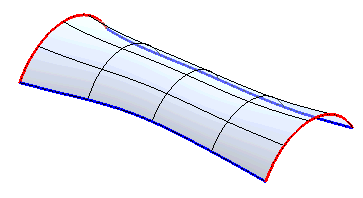
Click  to discard your changes.


 or
or  to confirm your selections and create the surface.
 to discard your changes.