Creating Customized Frame Catalogs
The following illustration explains how to create a customized Frame catalog that can be used to insert in a frame part.
In this tutorial you will create a custom Frame catalog of cross section. Open the frame_custom.e3 file from the Samples folder of your think3 installation and will appear as shown in the image below:
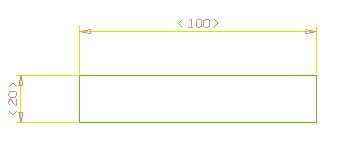
The model is a simple rectangle with two driving dimensions (use to check the assignment of variables) as shown in the image below:
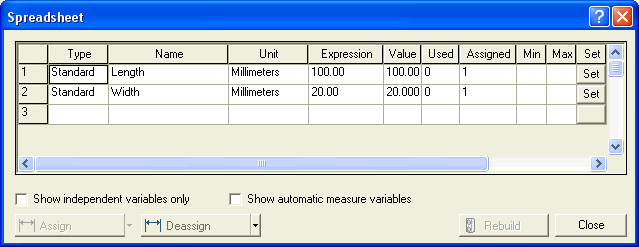
Now follow the steps to create a custom catalog.
- Start Tools
 thinkparts
 command to create a family of frame catalog based on the current model.
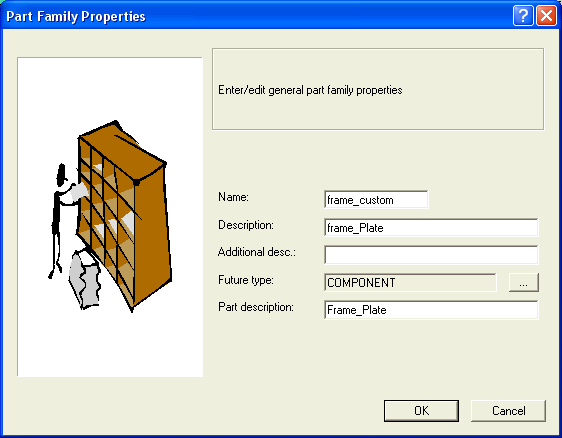
Specify the description of the part family as frame_plate in the Description edit box and click OK.
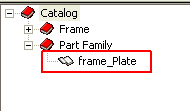
- Start the catalog manager and locate the newly created catalog frame_plate in the Part Family index as shown in the image below:
- Right-click the frame_plate catalog and select from the context menu to define the different parameters. Enter three sets of values for Length and Width variables in the dialog box as shown in the image below:
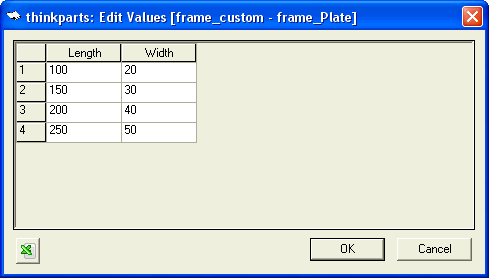
Click OK to save the configuration.
- Right click on the Line catalog specification. For this tutorial, right-click on the Steel - hot rolled - UNI and select from the context menu. The Edit Value dialog box is displayed.
- Enter frame_plate, Frame_custom (name of the catalog) and PF in the corresponding Catalog, Catalog ID and Representation columns respectively as shown in the image below.
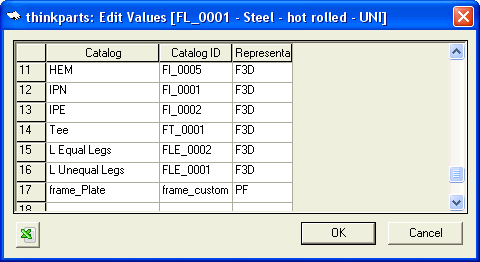
Click OK to save the values.
- Test your work by using the Frame Parts command.
- Expand Line node (
 ) and select the frame_plate option from the Sections drop-down list. Expand the Sections node (
 ) to view the table of values. Double click on the value for selection. Then Apply
  the command to insert the cross section in a frame part.
Related topics ...


 ) and select the frame_plate option from the
  the command to insert the cross section in a frame part.