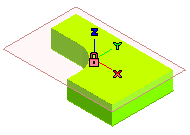
Moving that object or changing a dimension that will change the position of the point where the Work Plane is snapped to, causes the Work Plane to be moved as well.
 Input menu of the menu bar, in the
Mouse Input area of the
Input category of the
System Options, or by selecting the corresponding button in the toolbar.
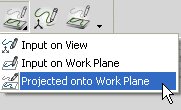
- Input on Work Plane
The Input on Work Plane flag is the most commonly used. It allows you to sketch on the current XY-plane. All the points you specify using the mouse will lie on that plane, but those you snap to 3D points will really be at the snapped location.
- Projected onto Work Plane
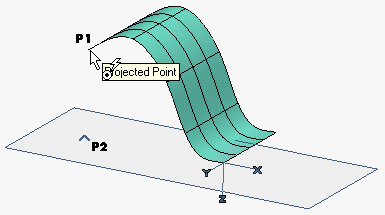
If you prefer, you might set the "Projected onto Work Plane" input method. This way, even when you snap 3D points they will be projected onto the XY-plane. The following illustration shows an example: we have used the Surface Vertex snap command and the point that is going to be inserted is automatically projected onto the XY-plane.

This last setting, as you can imagine, can be very useful, but it is suggested to be careful with it since it can become tedious, especially when creating 3D splines or other 3D curves.
- Input on View
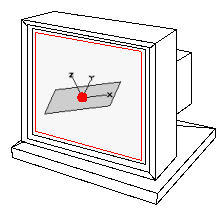
This mode, mostly used in styling, can be very useful when, for your input operations with the mouse, you feel more comfortable using the view plane—that is a plane parallel to the one of the screen—than the usual Work Plane.
When this mode is selected, all of the input operations you perform using the mouse will apply to the view plane, according to the following rules:
- The view plane is parallel to the screen and is through the origin of the Work Plane.

- A point freely specified using the mouse just by clicking somewhere (free points are points entered with no snap command or further constraint) is created on a plane that is parallel to the view plane at the
Depth:: distance.
- If a point is specified using a snap command, than the view plane is through the snapped point and parallel to the screen. All free points specified afterwards—within the same command—will lie on a plane that is parallel to the view plane at the depth distance.
- After a rotation, the orientation of the view plane changes accordingly.
- When a command is quitted, the view plane is reset as described at point 1.
- The view plane is parallel to the screen and is through the origin of the Work Plane.