| 1 |
Start the thinkparts
Catalog Browser command and navigate to one of the sample screws catalog. |
| |
|
| 2 |
the catalog and select an M10 screw. If you have assigned part numbers to your parts, you may have more than one listed; choose a suitable one. |
| |
|
| 3 |
Note on the top right corner of the thinkparts query view the presence of some options that appear only when you are inserting a part in a drawing:

| View type |
enables you to choose the part view that you wish to import in the drawing; available views, among others, are Top and Side. We will set this to Side for the sake of this example |
| Free |
select this option for an unconstrained part positioning |
| Pivot |
select this option to be able to set the part orientation after defining the position; we will use this option for this example |
|
| |
|
| 4 |
Click OK or double-click the screw or select
from the context menu. You may have to close the thinkparts query view or move it out of the way to continue. |
| |
|
| 5 |
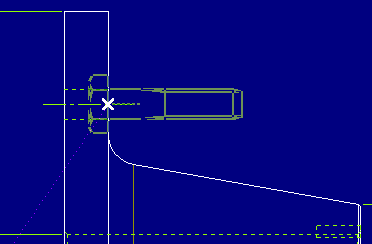
You are prompted to enter the new position: specify the point in the drawing where you wish to add the screw.
 |
| |
|
| 6 |
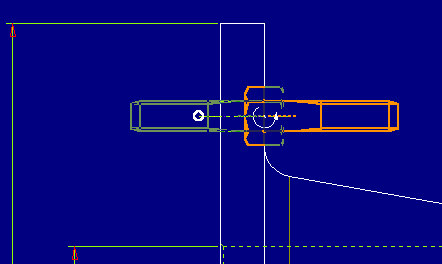
Because we set the Pivot option, the program expects you to define the orientation by selecting a new point to define the screw rotation.
 |
| |
|
| 7 |
You are enabled to insert more screws of this kind; to stop the sequence, simply press the ESC key on your keyboard. |
| |
|


